Campervan Solar Battery Setup Done Right
A fridge that cuts out overnight will ruin a trip faster than bad weather. Most campervan electrical problems do not start with a failed part – they start with a campervan solar battery setup that was never matched properly to how the van is actually used.
That is where a lot of owners get caught. They know they want solar, a lithium battery, maybe an inverter, and enough power to stay off-grid for a few days. But the real question is not what sounds good on paper. It is what your lights, fridge, fans, chargers, pump, and other gear will actually draw over 24 hours, and whether the charging side can realistically keep up.
What a campervan solar battery setup needs to do
At its core, the system has one job – store enough usable power and recharge fast enough to support the way you travel. For some vans, that means keeping a fridge and a couple of USB devices alive over a weekend. For others, it means running fans every night, charging camera gear, powering a coffee machine through an inverter, and staying parked up for days without driving.
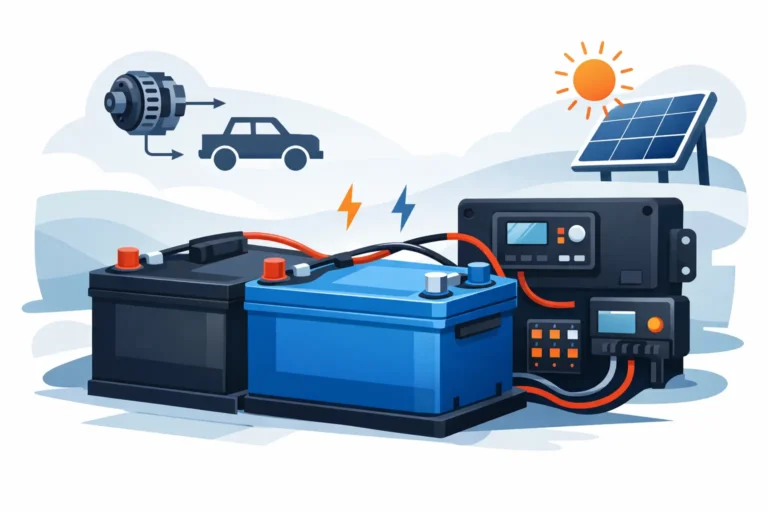
A good setup balances four parts: battery capacity, solar input, charging control, and load demand. If one of those is out of step, the whole system feels disappointing. You can fit a big battery and still run short if the solar array is too small. You can add plenty of solar and still have problems if the battery chemistry, charger settings, or cabling are wrong.
That is why cookie-cutter kits often miss the mark. Two campervans with the same roof space can need very different systems depending on climate, travel style, and appliance choice.
Start with your daily power use
Before choosing components, work out what you need the system to support in a normal day. This is the part people skip, and it is usually the reason they overspend or end up underpowered.
A compressor fridge is often the biggest constant load. Add roof vent fans, LED lighting, water pump use, phone and laptop charging, maybe a diesel heater controller, and the daily total starts to build. If you use an inverter for 120V appliances, the spikes can be much higher than expected, especially with coffee machines, induction cooking, or hair tools.
The aim is not to chase perfect numbers. It is to get an honest estimate of daily amp-hour or watt-hour use, then add sensible headroom. Real-world use changes with weather, season, and how long you stay parked. A van used for summer beach weekends has different demands from one used for full-time travel through mixed conditions.
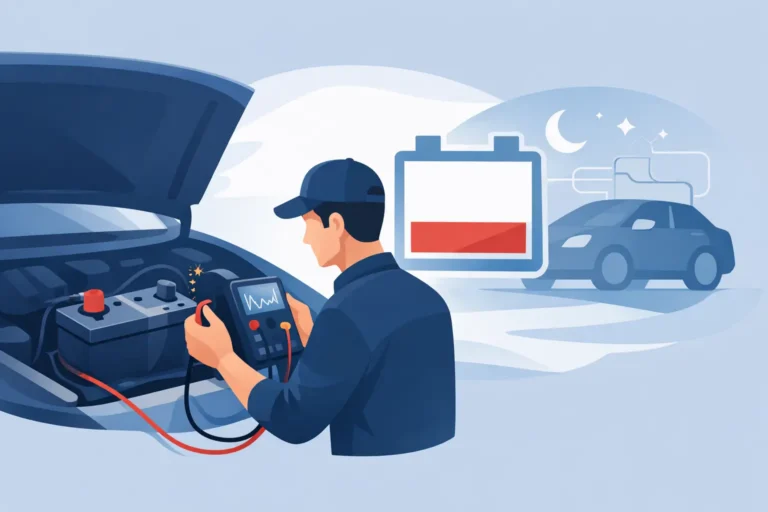
Battery choice matters more than most people think
For most modern builds, lithium makes the most sense. It gives you more usable capacity, faster charging, lower weight, and better voltage stability under load than traditional AGM batteries. In a campervan, that usually translates to more practical power from less space.
That said, not every lithium battery is equal. Build quality, internal battery management, low-temperature protection, charge acceptance, and warranty support all matter. A cheap battery can look fine on a spec sheet and still create headaches later.
AGM still has a place in some budget-conscious setups, but it comes with compromises. You generally need more capacity for the same usable power, charging takes longer, and weight adds up quickly. If roof space and storage are limited, those trade-offs are hard to ignore.
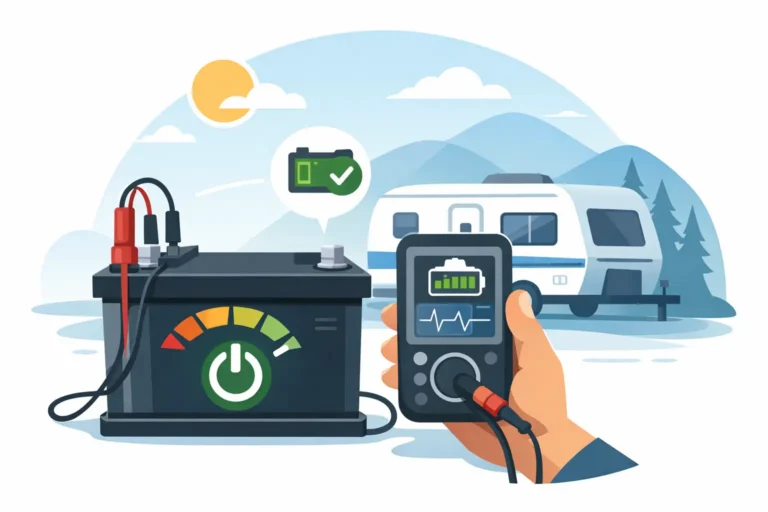
Sizing the battery for real use
A common mistake is choosing battery size based on a best-case sunny weekend. A better approach is to size for realistic use with some margin for poor weather.
If your van uses around 80 to 120 amp-hours per day at 12V, a 200Ah lithium battery is often a solid starting point for comfortable off-grid travel. If your loads are light, 100Ah might be enough. If you run larger inverter loads or spend long periods stationary, you may need more.
The key is usable capacity, not just the sticker size. Lithium lets you use a much larger share of rated capacity without harming battery life, which is one reason it performs so well in touring setups.
How much solar is enough?
Solar should be sized to replace what you use, not just to look impressive on the roof. In good sun, a modest array can do a lot. In shade, winter, cloud, or poor panel orientation, output can drop fast.
For many campervans, 200W to 400W of quality solar is a practical range. On lightly loaded weekend vans, 200W may be enough. For vans with compressor fridges, fans, regular device charging, and longer off-grid stays, 300W to 400W gives a better safety margin.
Panel quality and installation matter just as much as panel size. Shading from roof racks, vents, or pop-top hardware can hurt performance. So can poor cable routing, undersized wiring, or a controller that is not matched correctly to the panel array and battery chemistry.
The charger and controller are not optional details
A reliable campervan solar battery setup depends heavily on the charging hardware behind the scenes. This is where a lot of DIY systems fall short.
Your solar controller needs to suit the panel configuration and battery type. In most campervan applications, an MPPT controller is the better choice because it captures solar input more efficiently, especially when conditions are less than ideal.
If the van also charges from the alternator while driving, the DC-DC charger matters just as much. Modern vehicles often need a proper DC-DC charger rather than a basic isolator, especially if you want stable charging for lithium batteries. Without the right charger, the battery may never reach full charge, even after long drives.
This is also where quality brands earn their keep. Better charging equipment gives more accurate profiles, stronger protection, and more dependable long-term performance.
Inverters are useful, but they change the design
A lot of owners ask for an inverter because it feels like more freedom. Sometimes it is. Sometimes it just adds cost and drain.
If all your gear can run on 12V or USB, you may not need a large inverter at all. But if you want to power specific 120V appliances, the inverter must be sized for both continuous load and startup surge. That usually means heavier cabling, proper fuse protection, and enough battery capacity to support the extra demand.
This is one of the biggest it-depends parts of the job. A small inverter for laptop charging is very different from building a system around kitchen appliances or power tools.
The install quality matters as much as the parts
You can buy premium components and still end up with an unreliable system if the installation is poor. Loose terminals, bad earths, incorrect fuse placement, heat buildup, and voltage drop are common faults, and they are often hard to spot until you are already on the road.
A proper install should consider cable sizing, ventilation, service access, mounting security, charging profiles, and how the system will be diagnosed if something goes wrong later. Clean layout matters. So does labeling. When a fault shows up in the middle of a trip, a well-planned system is far easier to troubleshoot.
For that reason, many van owners choose to have their system designed around the way they travel rather than trying to piece it together from a generic kit. That is usually the better path when you are mixing lithium, solar, inverter loads, and vehicle charging in one compact space.
Common mistakes to avoid
Most power issues come back to one of a few problems. The battery is too small for the load. The solar is too optimistic for the climate. The charger is wrong for the vehicle or battery. Or the owner was never given a clear picture of what the system can and cannot do.
Another common issue is planning around ideal weather and short stays. Off-grid setups should be honest about cloudy days, shaded campsites, and the simple fact that travel habits change. A system that works only when everything goes right is not much use in a real campervan.
If you are building or upgrading a van, it also pays to think ahead. Leave room for expansion if you might add a second battery, more solar, or larger inverter loads later. Rebuilding a cramped system is usually more expensive than planning for growth from the start.
When professional design is worth it
If your needs are simple, a basic system can work well. But once you start combining lithium batteries, roof solar, DC-DC charging, inverter power, and custom loads, good design saves money in the long run.
A proper workshop can test actual load draw, select the right charging equipment, and set the system up so it is not just functional, but dependable. That matters when the van is part of how you travel, work, or take your family away. Coastal Cool Air sees this often with owners who have already spent money once and now want the setup sorted properly.
The best campervan power system is not the biggest one. It is the one that matches your travel style, charges properly, and keeps working when the weather is average and the trip runs longer than planned.
If you are planning a campervan solar battery setup, think less about chasing the biggest numbers and more about building a system you can rely on when you are parked up miles from the nearest power outlet.