Caravan Inverter Not Working? Start Here
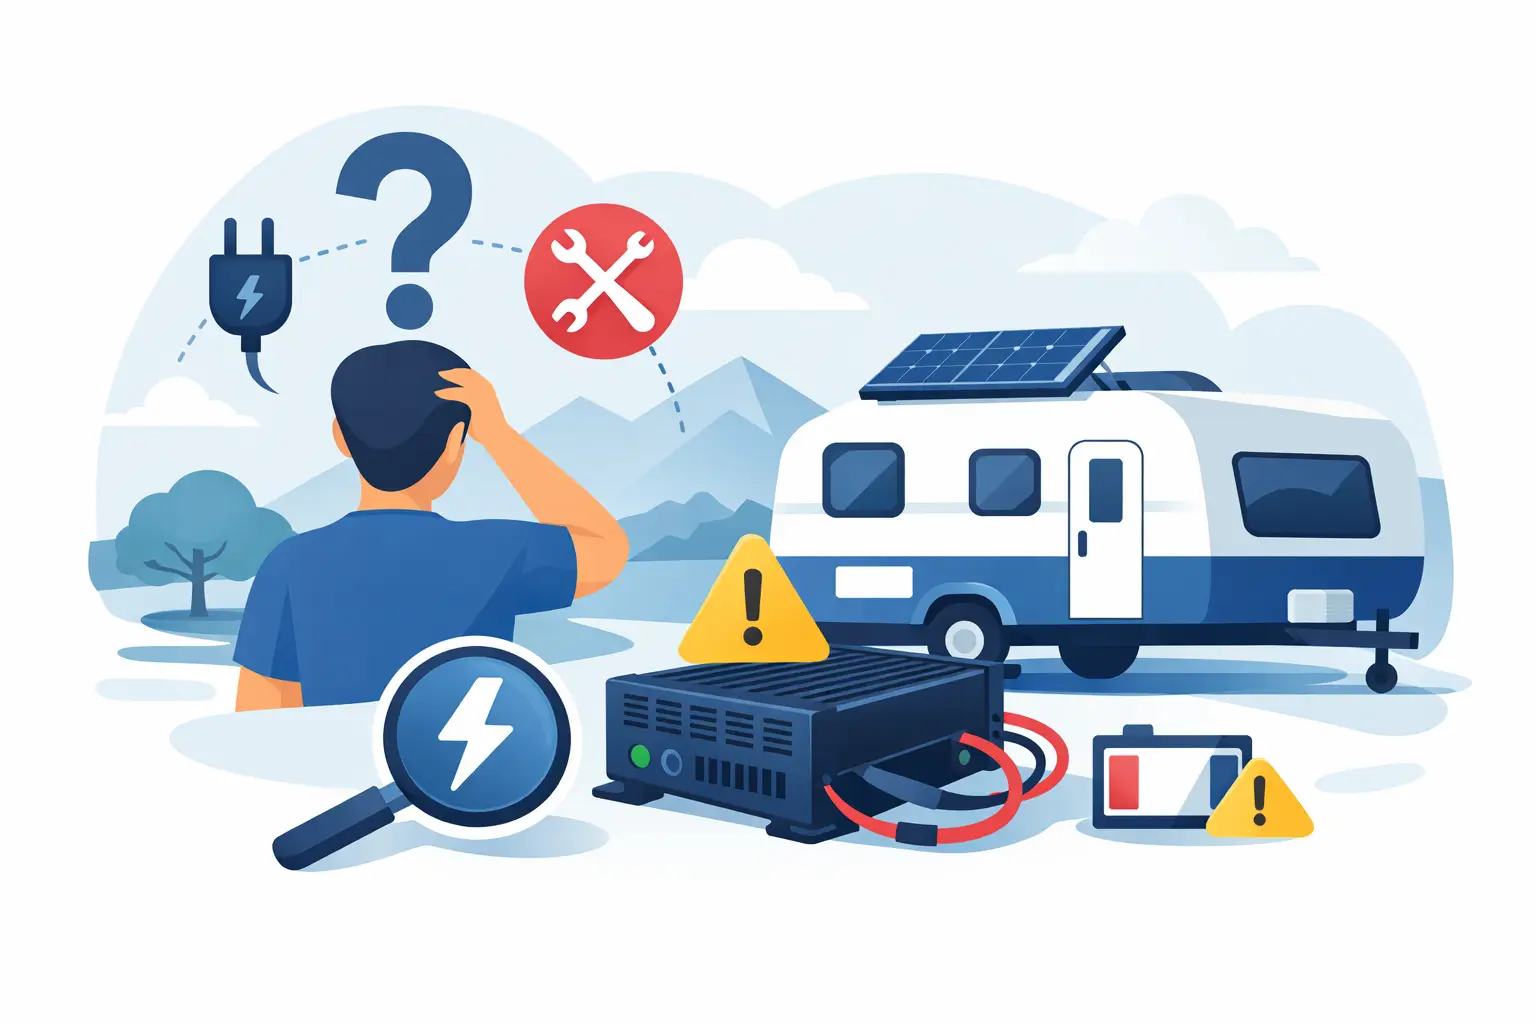
You flick the inverter on, expecting 240V power for the coffee machine, charger or laptop, and nothing happens. If your caravan inverter not working issue has shown up right before a trip or while you’re already parked up, it usually comes down to a fault somewhere in the 12V supply, the protection settings, or the way the system has been installed.
The good news is that not every inverter fault means the unit itself is dead. In plenty of caravans, the inverter is doing exactly what it should by shutting down to protect the batteries, wiring or connected appliances. The trick is working out whether you’re dealing with a simple reset, a battery problem, a wiring issue, or a failed component.
Why a caravan inverter stops working
An inverter’s job is straightforward – it takes 12V DC power from your battery system and converts it to 240V AC for suitable appliances. But for that to happen properly, it needs stable battery voltage, correct cable sizing, solid earths, proper fusing and a load that sits within its rating.
If any one of those pieces is off, the inverter may not turn on at all, it may alarm and shut down, or it may power up with no usable output. That’s why inverter problems can be misleading. What looks like a failed inverter can actually be a low battery, a loose terminal, voltage drop under load or a tripped safety device.
This is also where cheap assumptions cost people time and money. Swapping the inverter first without testing the rest of the system can leave the real fault untouched.
First checks when your caravan inverter is not working
Start with the basics before assuming the worst. Check whether the inverter has any lights, fault codes or audible alarms. Most quality units give some clue about what they’re seeing, whether that’s low voltage, overload, over-temperature or output fault.
Next, look at battery voltage at rest and then again when the inverter is switched on. A battery bank can appear fine with no load, then drop sharply once the inverter asks for current. That’s especially common with ageing batteries, poor connections, undersized cabling or setups where the battery state of charge is lower than expected.
Also check the obvious physical items. Inspect battery terminals, inverter input cables, fuse holders, isolators and earth points. A connection can be tight enough to look acceptable but still create resistance, heat and voltage loss. If anything is discoloured, warm, corroded or loose, that matters.
If the unit has a remote on-off switch or control panel, don’t overlook that either. We’ve seen systems where the inverter itself was fine but the remote switch, data cable or control panel was the real issue.
Battery voltage is one of the biggest causes
A lot of inverter complaints trace back to battery condition. Inverters are current-hungry devices, especially once you start running kettles, coffee machines, toasters, hair dryers or chargers with a strong draw. Even a modest 240V load can mean heavy current on the 12V side.
If your battery bank is low, tired or too small for the appliance load, the inverter may protect itself and switch off. Lithium systems usually hold voltage better than older AGM setups, but they can still shut down if there’s an issue with the battery management system, temperature limits or charge status.
This is where the details matter. A van with a quality lithium battery, proper cable sizing and a matched inverter behaves very differently from a van with mixed battery ages, unknown wiring history and a high-demand appliance plugged into a budget inverter.
Check what appliance you’re trying to run
Not all inverter problems are inverter problems. Sometimes the load is the issue.
Many appliances have a startup surge that’s much higher than their normal running wattage. A microwave, compressor device or power tool may trip an inverter even when the label looks like it should be within range. Some sensitive electronics also dislike poor waveform quality, which can be a problem if the inverter is not pure sine wave.
If the inverter works with a laptop charger but not with a kitchen appliance, that tells you something useful. It points more toward load compatibility, surge demand or output limits than total inverter failure.
Common electrical faults behind inverter shutdowns
When a caravan inverter is not working, there are a few repeat offenders that show up often in diagnostics.
Undersized input cabling is a major one. If the cable from the battery to the inverter is too small or too long for the current demand, the voltage at the inverter can drop well below what the battery is actually supplying. The inverter then sees low voltage and shuts down, even though the battery itself may test reasonably well.
Faulty fuse holders and isolators are another common issue. A fuse can look intact but still have heat damage or poor contact. Isolator switches can also fail internally. The result is restricted current flow, intermittent operation or no startup at all.
Poor earths cause plenty of strange behaviour too. Inverter installations need clean, secure connections, and caravans often live a hard life with vibration, dust, moisture and road movement. What worked fine six months ago can work loose over time.
Then there’s heat. Inverters need ventilation. If they’re mounted in a cramped compartment with little airflow, they can go into thermal protection, especially in warmer weather or when running heavy loads for longer periods.
When the inverter itself may be faulty
Sometimes the inverter is the problem. Internal component failure, water ingress, overheating damage, board faults and failed relays do happen, particularly with lower-quality units or systems that have been run hard.
Signs pointing more directly to inverter failure include a burnt smell, visible damage, no response despite confirmed battery power at the input terminals, or output faults that remain after all supply issues have been ruled out. If there are error codes that persist with a known-good battery and a light test load, that’s another clue.
That said, proper testing still matters. Replacing an inverter without checking the battery bank, charging system and cabling can set the new unit up to fail the same way.
Why DIY checks only go so far
There’s nothing wrong with checking battery voltage, looking over connections and confirming whether a fuse has blown. Those are sensible first steps. But once testing involves live 240V output, current draw, internal fault tracing or system design issues, it’s time to be careful.
Caravan power systems are often more complex than they appear. Solar regulators, DC-DC chargers, battery monitors, lithium BMS settings, transfer switching and existing modifications all affect how the inverter behaves. A fault in one part of the system can show up somewhere else.
That’s why a proper diagnostic approach saves time. Rather than guessing, the system should be tested under load, with voltage drop checked, battery condition assessed, protections confirmed and appliance demand compared against inverter capacity.
What a proper inverter diagnosis should include
A good diagnosis doesn’t start and finish with the inverter box. It should include the battery bank, charging inputs, cabling, fusing, earthing and the way the inverter has been integrated into the van.
In practical terms, that means checking battery voltage and condition, measuring supply voltage at the inverter under load, inspecting cable size and termination quality, verifying fuse and isolator performance, and confirming whether the appliance load is realistic for the system.
If the van has had additions over time, that matters too. We often see caravans where extra sockets, replacement batteries or aftermarket accessories have been added without the inverter side being reviewed. The system may have worked when it was simpler, but it no longer matches the way the van is being used.
For caravan owners around the Sunshine Coast and hinterland, that local workshop-style diagnostic support can make a big difference, especially before a long trip where off-grid reliability matters more than a quick guess.
Repair or replace?
It depends on the inverter brand, age, condition and how the rest of the setup is built. If the problem is external – such as wiring, battery voltage or a failed fuse holder – a repair to the surrounding system may be all that’s needed.
If the inverter itself has failed, replacement is often the more sensible option than trying to repair a lower-end unit. For higher-quality systems, it’s worth looking at compatibility with your battery chemistry, charger setup and expected appliance loads before choosing a replacement. Bigger is not always better. An oversized inverter can be unnecessary if your battery capacity and charging inputs don’t support the way you plan to use it.
This is also a good time to think about the whole off-grid setup. If your current system struggles every time you run normal travel gear, the issue may be design, not just a faulty part.
Preventing the next inverter problem
A reliable inverter setup starts with matching the components properly. That means an inverter suited to your appliance loads, battery capacity that supports those loads, cable sizing that can carry the current, and charging sources that keep the system healthy.
Routine checks help as well. Keep terminals clean and tight, make sure ventilation isn’t blocked, and pay attention if the inverter starts alarming or dropping out more often. Small warning signs usually show up before a total failure.
If your van’s power system has changed over time, or you’re adding lithium, solar or bigger loads, it’s worth having the whole setup reviewed. Coastal Cool Air sees plenty of cases where one weak point causes repeat power issues, and sorting it properly gives you a far more dependable van.
If your caravan inverter is not working, don’t assume the box is dead and don’t keep forcing it to run. A calm, methodical check now is a lot cheaper than losing power when you’re camped up and relying on it.