4WD Touring Power Setup Guide
You usually find out a power setup is wrong when the fridge is warm, the camp lights are dim, or the starter battery sounds tired first thing in the morning. A proper 4WD touring power setup guide is really about avoiding that moment. The goal is simple – keep your vehicle reliable, keep your accessories powered, and make sure your setup suits the way you actually travel.
There is no single best touring setup for every 4WD. A weekend beach run with a fridge and a few USB chargers needs something very different from a week off-grid with solar, an inverter, camp lighting and a caravan in tow. Good power planning starts with your loads, your travel style and how much margin you want when conditions are less than ideal.
What a 4WD touring power setup needs to do
At its core, your touring system has three jobs. It needs to protect your cranking battery, supply steady power to your accessories, and recharge properly while you drive or camp. If one of those parts is weak, the whole setup becomes frustrating.
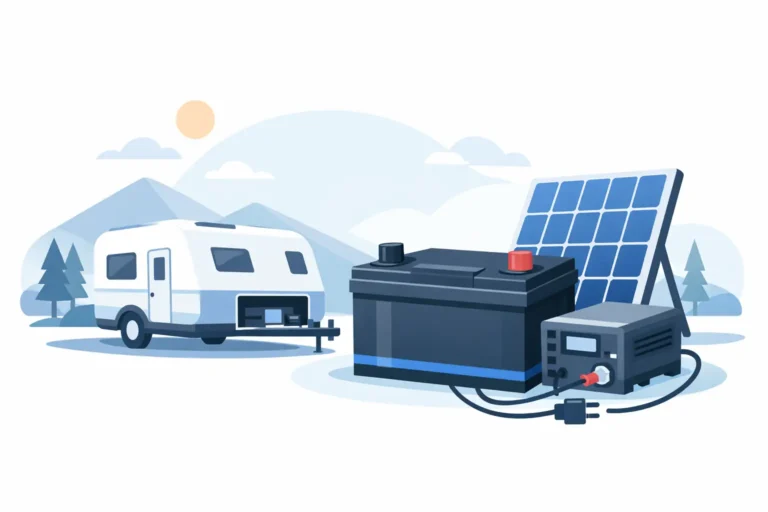
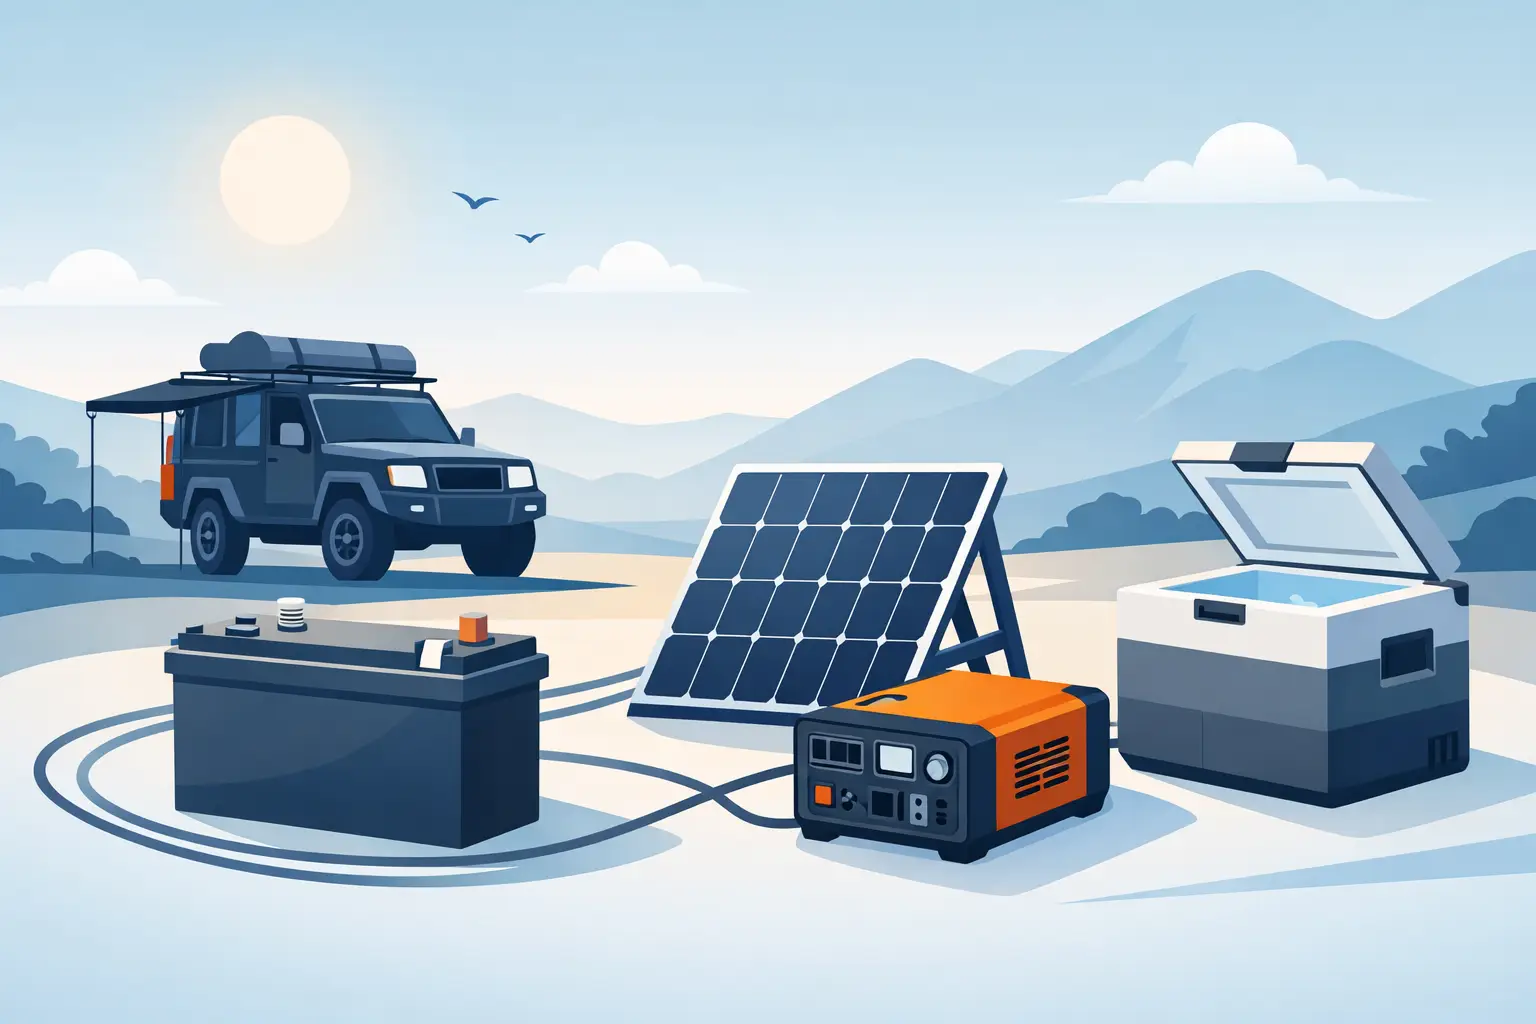
For most touring vehicles, that means separating the starting system from the accessory system with a dual battery arrangement. Your cranking battery is there to start the engine. Your auxiliary battery is there to run the fridge, lights, compressors, chargers and other gear when the engine is off. Keeping those jobs separate is one of the smartest upgrades you can make to a touring 4WD.
The other key point is that not all accessories are equal. A fridge cycling all day is a serious load compared with charging a mobile or running a couple of camp lights. Add a diesel heater, starlink, camera batteries or an inverter for coffee machines and the numbers climb quickly. That is where plenty of setups fall short – they are built around what sounds good, not what the gear actually draws.
Start with your power budget
Before choosing batteries or solar, work out how much power you use in a typical 24-hour period. This does not need to be overcomplicated, but it does need to be honest. If your fridge uses 30 to 50 amp-hours a day depending on weather, and your lights, chargers and other accessories add another 20, then a 100Ah battery is not really a two-day solution once you allow for losses and reserve.
Battery capacity should suit the real load, not the optimistic one. You also need to consider how often you move camp. If you drive for several hours each day, vehicle charging can do a lot of the work. If you park up for two or three days, solar and battery reserve become much more important. It depends on whether your touring looks more like travelling or more like camping.
Battery type matters more than many people think
AGM batteries still have a place in some setups because they are familiar and often cheaper upfront, but they are heavier and less efficient than lithium. They also do not like being deeply discharged on a regular basis. For serious touring, lithium has become popular for good reason. It gives you more usable capacity, lower weight and faster charging.
That said, lithium is not just a battery swap. The charging system needs to suit it, and the installation needs to be done properly. Cable sizing, fuse protection, battery management and charger settings all matter. A premium battery paired with poor installation can still perform badly.
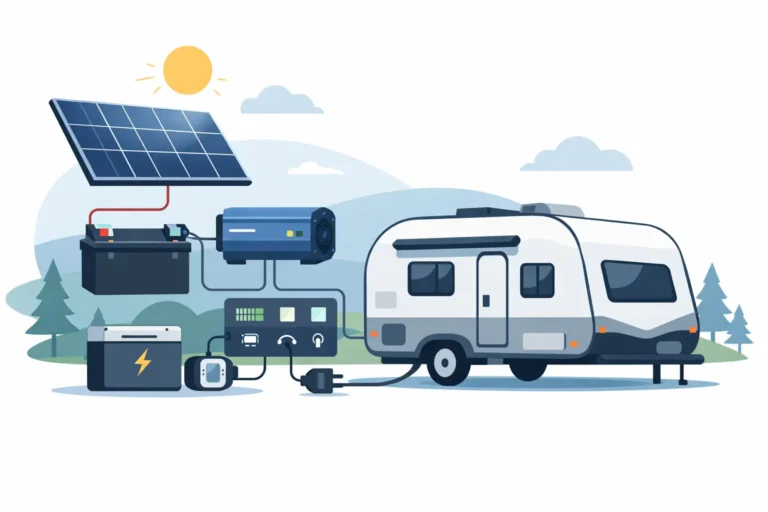
The backbone of the system – charging properly on the move
A dual battery setup lives or dies by its charging strategy. In older vehicles, simpler charging methods sometimes worked well enough. In many modern 4WDs with smart alternators, they often do not. Voltage can vary too much, and the auxiliary battery may never receive the proper charge.
That is why a DC-DC charger is usually the right choice in a touring vehicle. It manages the charge profile going into the auxiliary battery and helps compensate for voltage drop and alternator behaviour. If you are running lithium, this becomes even more relevant because the battery wants a proper charging profile to perform as intended.
Sizing matters here too. A charger that is too small may struggle to recover the battery between camps, especially if your loads are high. One that is oversized without proper cable upgrades can create heat and voltage drop issues. This is where tailored advice is worth it, because the best size depends on battery capacity, alternator capability and cable runs.
Don’t ignore cable size and voltage drop
A lot of power issues are not battery issues at all. They are wiring issues. Long cable runs to the rear of a wagon, canopy or ute tray can introduce enough voltage drop to reduce charging performance and upset appliances. Fridges in particular do not love low voltage.
Good touring installs use the right cable size, proper fuse protection and clean termination. It is not glamorous, but it is what separates a setup that works on paper from one that works on a corrugated track in summer.
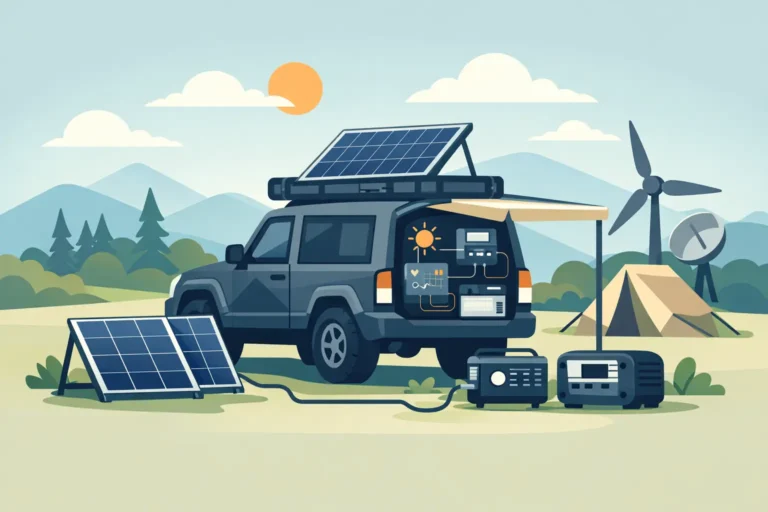
Solar in a 4WD touring power setup guide
Solar is not magic, but it is very useful when it is matched to the job. If you stay put for a day or two, portable or roof-mounted solar can significantly extend your battery runtime. It is especially effective for offsetting fridge loads during daylight hours.
Portable panels give you flexibility because you can park in the shade and place the panel in the sun. Roof-mounted solar is convenient because it is always connected and requires less setup. The trade-off is that roof panels are limited by available space, panel angle and where the vehicle is parked. On some builds, a combination of both works best.
A common mistake is expecting a small solar panel to carry a large touring load in mixed weather. Panel ratings are measured in ideal conditions. Real-world output changes with cloud, shade, heat and season. If your daily consumption is high, solar should be treated as support, not a guarantee.
Inverters – useful, but not always necessary
Inverters are one of the most misunderstood parts of a touring setup. They can be very handy for charging tool batteries, laptop power supplies or certain small appliances. But they also introduce inefficiency, and high-wattage appliances can flatten a battery bank quickly.
If all your gear can run on 12V or USB-C, that is often the cleaner and more efficient option. If you do need 240V occasionally, choose an inverter size that suits those specific loads rather than buying the biggest unit you can fit. Bigger is not always better. It can mean higher standby draw, more heat and extra cost.
For anyone planning to run induction cooktops, coffee machines or hair dryers, the setup needs to be designed around that from the start. Those loads are in a different league from a fridge and some lighting.
Keep the layout practical and serviceable
A neat install is not just about looks. It makes troubleshooting easier, protects components and reduces the chance of failures from vibration, heat or moisture. Batteries need secure mounting. Chargers and inverters need ventilation. Fuses and isolators should be accessible. If a setup disappears behind trim with no clear labelling, future fault-finding becomes harder than it should be.
This matters even more in touring vehicles that do rough kilometres. Heat, dust and vibration find weak points. A professionally planned setup usually costs less grief in the long run because the design considers those conditions from the start.
Match the system to how you travel
The best 4WD touring power setup guide is not a shopping list. It is a match between equipment and use.
If you mostly do short trips, an AGM dual battery and basic charger may still be enough. If you tour regularly, run a fridge full-time and want dependable off-grid performance, a lithium auxiliary battery with a quality DC-DC charger is often the better long-term option. If you stay in one place for days, solar deserves more attention. If you tow a caravan, the vehicle and van systems should be planned together rather than treated as separate afterthoughts.
That joined-up approach is where many travellers save money and frustration. Instead of upgrading parts one by one after each trip, you build a system with a clear purpose. Businesses like Coastal Cool Air see this regularly – people come in with decent components, but the overall setup has never been designed as one system.
When to get advice before buying parts
If your touring setup includes lithium, solar, a canopy, rear power distribution, caravan charging or an inverter, getting advice early is usually worthwhile. Not because the system has to be complicated, but because the details affect reliability. Battery chemistry, alternator type, charger size, cable runs and accessory loads all influence the final result.
The right setup should feel boring in the best possible way. The fridge stays cold. The battery monitor makes sense. The vehicle starts every time. You are not juggling extension leads, guessing state of charge, or worrying whether tonight is the night everything goes flat.
A good touring power system is not about having the biggest battery bank in the car park. It is about knowing your setup fits your travel style, your gear and your expectations. Get that right, and the power side of your trip quietly does its job while you get on with enjoying where the track takes you.