How to Test Car Alternator Output Properly
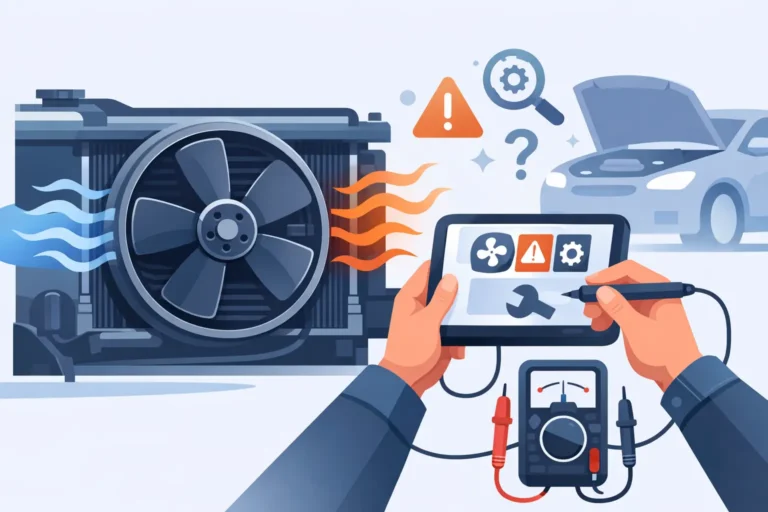
A flat battery that keeps coming back is rarely just bad luck. If your dash battery light flickers, your headlights dim at idle, or your fridge and accessories start acting up on the road, it is time to look at the charging system. If you are wondering how to test car alternator faults properly, a few basic checks can tell you whether the alternator is doing its job or whether the problem sits elsewhere.
The key thing to understand is this: an alternator does not just charge the battery. It supports the entire electrical system while the engine is running. On modern vehicles, especially 4WDs, caravanning setups and utes with extra lighting, fridges or dual battery systems, a weak alternator can cause all sorts of strange behaviour before it fails completely.
How to test car alternator with a multimeter
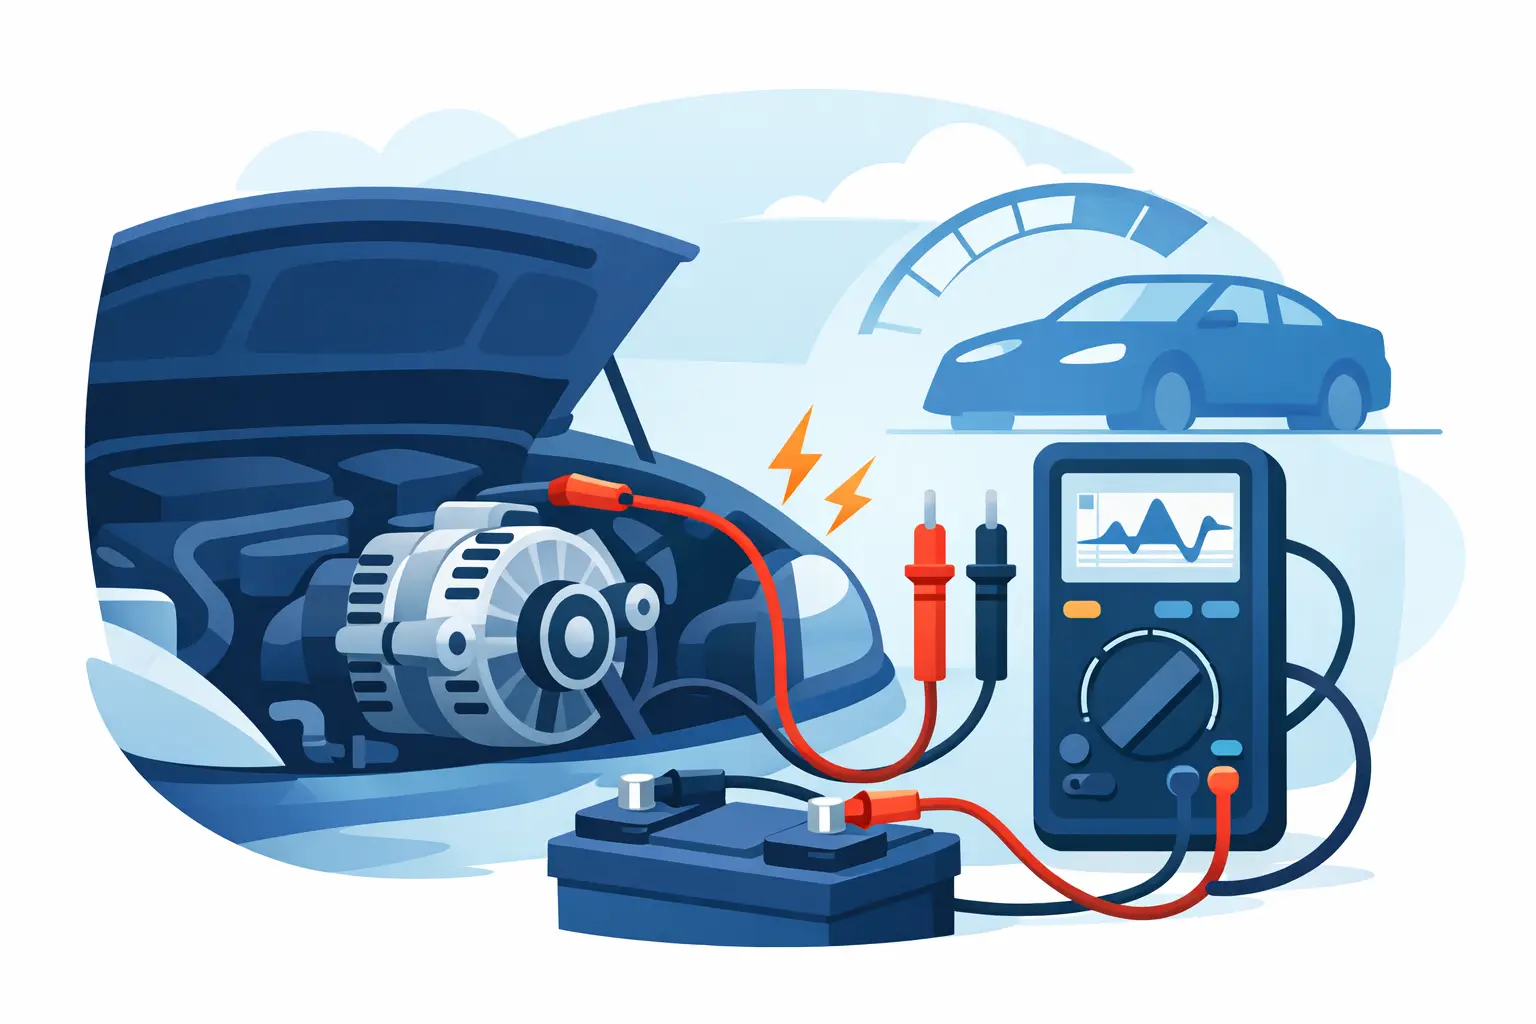
The most reliable starting point is a digital multimeter. You do not need workshop-level equipment for the first round of checks, but you do need to use the meter correctly and read the results in context.
Start with the engine off. Set your multimeter to DC volts and place the probes across the battery terminals, positive to positive and negative to negative. A healthy, fully charged 12V battery will usually sit around 12.6 volts. If it is down around 12.2 volts or lower, the battery is partly discharged, which can affect what you see next.
Now start the engine and test the battery again at idle. In most vehicles, the voltage should rise to somewhere between about 13.8 and 14.5 volts. That increase tells you the alternator is supplying charge. If the reading stays close to the engine-off battery voltage, the alternator may not be charging at all.
Next, switch on a few electrical loads. Turn on the headlights, air-conditioning fan and rear demister if fitted. Then check voltage again. A good charging system should still generally stay above about 13.5 volts, though this varies by vehicle, temperature and charging strategy. Some smarter modern systems do not behave like older fixed-voltage setups, so one low-looking number does not always mean the alternator is faulty.
That is where people can get caught out. On many late-model vehicles, charging voltage changes on purpose to suit fuel economy, battery condition and electrical demand. So if you see a reading that moves around, it is not automatically a problem. The pattern matters as much as the exact figure.
What the readings usually mean
If your engine-off battery voltage is healthy and the running voltage climbs into the mid-13s or low-14s, the alternator is likely working. If the running voltage sits under about 13 volts consistently, there may be a charging issue.
If the reading goes too high, say 15 volts or more, that can point to a regulator problem. Overcharging is not harmless. It can shorten battery life, upset electronics and create bigger issues in vehicles with added 12V gear.
If the voltage starts correctly but drops badly once accessories are switched on, the alternator may be weak under load. It could also mean you have poor cable connections, belt slip, battery problems or excessive current draw from aftermarket equipment.
This is why charging faults are not always just alternator faults. The alternator, battery, wiring, earths and control system all work together.
Before you blame the alternator
There are a few quick visual checks worth doing before you pull anything apart or book in a replacement unit.
Have a look at the drive belt. If it is loose, glazed, cracked or contaminated, the alternator may not spin properly under load. A slipping belt can mimic an alternator failure, especially when lights, fans or a compressor are running.
Check the battery terminals as well. If they are corroded or loose, your multimeter readings can mislead you. The same goes for the main charging cable and engine earths. A poor connection creates voltage drop, heat and unreliable charging.
It is also worth paying attention to obvious warning signs. A battery warning light, slow cranking, burning smells, unusual whining noises and flickering dash lights all suggest the charging system needs attention. On touring vehicles, you might also notice the secondary battery is no longer charging properly or the inverter cuts out sooner than it should.
A simple voltage drop check
If you want a slightly more useful test than basic battery voltage, check for voltage drop in the cables. This helps uncover bad connections that standard charging tests can miss.
With the engine running and electrical loads switched on, place one multimeter probe on the alternator output stud and the other on the battery positive terminal. You should see very little voltage difference, ideally under about 0.2 volts. A higher reading suggests resistance in the positive cable or connections.
Then check the earth side by measuring between the alternator housing and the battery negative terminal. Again, the reading should be low. If it is not, the engine earth or related connections may be the issue.
This matters more than many people realise. We see plenty of vehicles where the alternator gets blamed, but the actual fault is a tired connection, damaged cable or poor earth.
Can you test an alternator without a multimeter?
You can spot symptoms without a meter, but you cannot properly confirm charging performance by eye alone. Older backyard advice sometimes suggests disconnecting the battery while the engine is running. Do not do that. On modern vehicles, it can damage electronics and create voltage spikes.
What you can do is watch for practical signs. Headlights that brighten when you rev the engine, accessories cutting in and out, or repeated flat batteries after normal driving all point towards a charging problem. But symptoms alone are not enough to separate a faulty alternator from a weak battery or wiring fault.
Why testing matters more on 4WDs and touring setups
For a standard commuter car, a failing alternator is inconvenient. For a 4WD, campervan or touring rig, it can shut down far more than engine starting. Charging faults can affect DC-DC chargers, dual battery systems, fridges, lighting, brake controllers and inverter-fed gear.
That is why a vehicle with aftermarket electrical upgrades needs a more careful diagnosis. Extra loads, accessory wiring and battery management systems can all influence what the charging system is doing. If you have fitted lithium batteries, solar, a canopy power setup or caravan charging gear, the test results need to be read with the full system in mind.
An alternator that looks acceptable at idle in the driveway may still struggle once everything is running. Equally, a smart charger or battery management setup may make a basic multimeter reading look odd even when the system is functioning normally.
When DIY testing stops being useful
Basic testing is good for early clues. It helps you decide whether the vehicle is safe to drive and whether the battery is simply discharged or the charging system is not keeping up. But if the readings are inconsistent, if warning lights are on, or if the vehicle has modern charging control, proper diagnostics save time and guesswork.
A workshop can load-test the alternator, inspect ripple voltage, check regulator performance, measure current output and confirm whether the fault sits with the alternator itself, the battery, control wiring or another part of the system. That matters because replacing the alternator on a guess can get expensive quickly, especially on late-model vehicles where access is tighter and parts are not cheap.
For Sunshine Coast drivers who rely on their vehicle for work, school runs, towing or weekends away, it is usually better to catch a weak charging system early than wait for a no-start in a car park or campsite.
Common mistakes when testing alternator problems
One of the biggest mistakes is testing with a heavily discharged or failed battery and assuming the alternator reading tells the full story. A bad battery can drag the numbers down and make a good alternator look suspect.
Another is focusing on voltage only. Voltage matters, but current output and voltage drop matter too. An alternator can show acceptable voltage with no load and still fail once the system is asked to work.
The third common mistake is ignoring how the vehicle is actually used. If you run spotlights, a fridge, UHF, charging sockets and a dual battery setup, your alternator works harder than the one in a stock runabout. The test should reflect that reality.
If you want one practical takeaway, it is this: test the battery first, test charging voltage second, and never read the numbers in isolation. A sound diagnosis always looks at the whole system, not just the alternator on its own.
If your vehicle is showing charging symptoms and the readings do not quite add up, getting it checked properly is often the quickest path to a reliable fix. That is especially true before a trip, because electrical faults have a habit of showing up at the worst possible time.