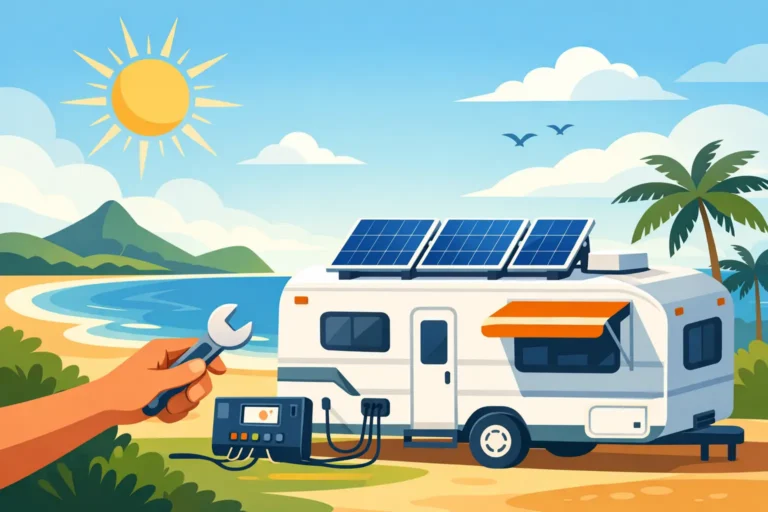
Camper Trailer Electrical Wiring Guide
A camper trailer that looks sorted on the outside can still let you down fast if the wiring behind the panels is messy, undersized or poorly protected. This camper trailer electrical wiring guide is built for people who want reliable lights, charging, fridge power and off-grid confidence without guessing their way through the job.
For most camper owners, the goal is simple – power that works every time, whether you are heading away for a weekend or setting up for a longer trip. The trouble is that trailer wiring often gets treated as an afterthought. A few extra lights get added, a battery upgrade goes in later, then solar gets bolted on, and before long the system is harder to trust than it should be.
Start with the loads, not the battery
The most common wiring mistake is building a system around a battery size or a brand name instead of actual power use. Before you run a single cable, work out what the trailer needs to supply. That usually means LED lighting, USB charging, a water pump, a fridge or fridge slide setup, and sometimes an inverter for small 240V appliances.
Once you know your loads, you can estimate daily amp-hour use and decide whether a simple AGM setup will do the job or whether lithium makes more sense. There is no universal right answer here. AGM can still be a solid option for lighter use and tighter budgets, while lithium is often the better fit for regular touring, faster charging and lower weight. The wiring approach changes too, because charging profiles, current draw and protection all need to match the battery chemistry.
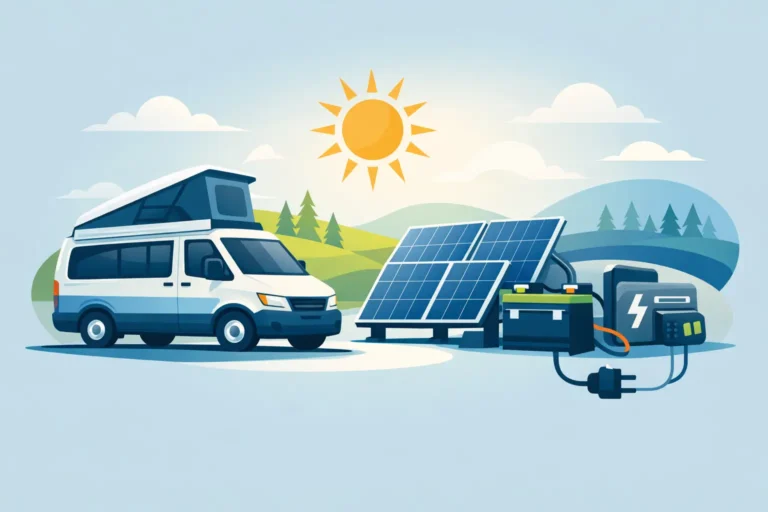
The basic layout of a camper trailer system
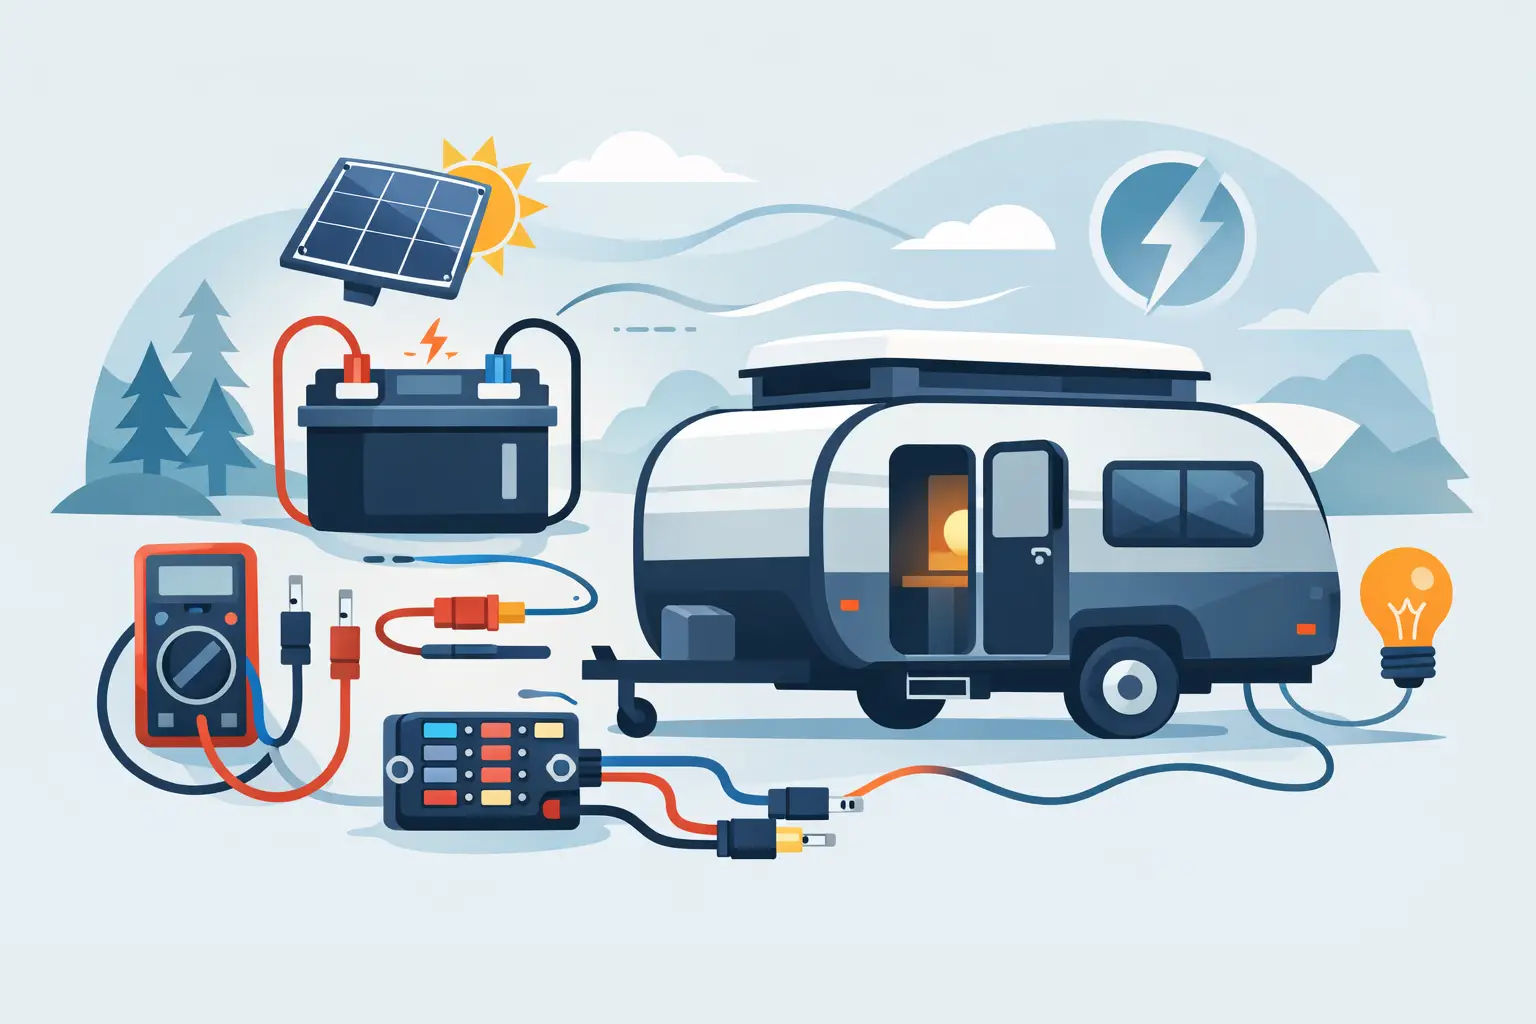
A good camper trailer electrical wiring guide should make the layout easy to picture. In plain terms, most systems have four parts: charging inputs, battery storage, circuit protection and output circuits.
Charging inputs may come from the tow vehicle, solar panels or 240V charging when parked at home or in a caravan park. Those feeds go to the battery through the correct charging equipment, not straight through whatever cable happened to be handy in the shed. From the battery, power runs through fuses or circuit breakers to a fuse block or distribution panel, then out to the individual accessories.
That order matters. Protection should be as close as practical to the power source, and every major circuit should be sized for the load it carries. If one cable is too small or one fuse is wrong, the whole system can become unreliable or unsafe.
Cable size matters more than many people realise
Voltage drop is one of the biggest causes of poor performance in camper trailers. You can have a quality fridge, a decent battery and a good charger, but if the cable run is too light, the appliance still sees reduced voltage and performs badly.
This becomes especially important in trailers because cable runs are often longer than people expect. You are not just measuring one-way distance. The circuit includes the positive and negative path, so the total run adds up quickly. Heavy-draw items like fridges, inverters and DC-DC chargers usually need larger cable than lighting or USB outlets.
As a rule, it is better to size cable properly from the start than to chase faults later. Oversizing cable within reason can save a lot of headaches, especially if you plan to upgrade solar, battery capacity or charging gear down the track.
Fuses, breakers and isolation
If there is one area where shortcuts are not worth it, this is it. Every positive feed from a battery should be fused correctly, and each circuit should have protection that matches both the cable size and the expected current draw. A fuse is there to protect the wiring, not just the accessory.
Battery isolation is just as important. You want to be able to safely disconnect the system for servicing, storage or fault finding. In a practical camper setup, that means using quality isolators and mounting them where they can actually be reached.
Some owners assume the tow vehicle will provide enough built-in protection for the trailer feed. Sometimes it does, sometimes it does not, and sometimes it is not appropriate for the cable size or charging setup being used. That is why the trailer itself still needs its own proper protection strategy.
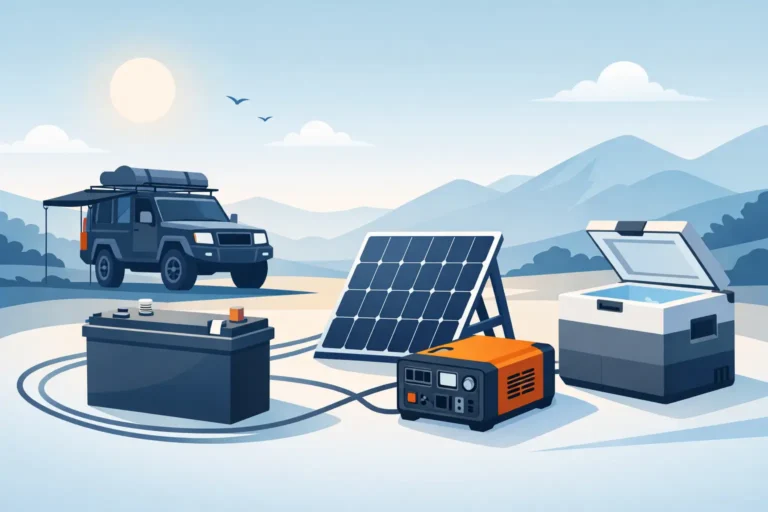
Charging from the tow vehicle and solar
Tow vehicle charging sounds simple, but modern vehicles have made it more complicated. Smart alternators, voltage-sensitive systems and long cable runs can all reduce charging performance at the trailer battery. In many setups, a DC-DC charger is the right fix because it manages voltage properly and delivers the correct charging profile to the battery.
Solar is often the next piece of the puzzle. Fixed roof panels can be convenient, while portable solar blankets or folding panels offer flexibility when camped in shade. Neither option is automatically better. It depends on how you camp, where you park and how much setup you are happy to do each day.
What matters most is matching the regulator or charger to the battery type and expected input. A poorly planned solar addition can create more confusion than benefit, especially when people mix old and new components that were never meant to work together.
A camper trailer electrical wiring guide for real-world reliability
On paper, many wiring jobs look fine. In real conditions – corrugations, dust, moisture, heat and movement – the weak points show up quickly. That is why component choice and installation quality matter as much as the wiring diagram itself.
Use proper terminals, quality lugs, adhesive-lined heat shrink where needed, and secure mounting for chargers, fuse blocks and batteries. Loose cables rubbing on chassis edges or bouncing around in storage compartments are asking for trouble. Earth points need to be clean and reliable. Connectors exposed to weather should be chosen with the environment in mind, not based only on price.
This is where many DIY trailer systems fall short. The owner might choose decent gear, but if the cable support, crimp quality or enclosure sealing is poor, reliability suffers. Good electrical work should still make sense after a rough trip on outback roads.
Common wiring mistakes to avoid
A few faults come up again and again in camper trailers. One is using the trailer chassis as the main earth return in systems that really need dedicated negative cabling. Another is mixing cable sizes inconsistently, with one decent section joined to lighter cable that creates a hidden bottleneck.
Poor battery placement is another issue. If the battery is hard to access, difficult to isolate or sitting where it gets excessive heat or water exposure, maintenance and reliability both suffer. People also underestimate future expansion. If you think you might add an inverter, more solar or extra charging outlets later, design for that now.
Then there is the temptation to keep adding accessories to an existing fuse block with no fresh load calculations. That works until it does not. Every upgrade should be checked against total battery capacity, charging input and cable ratings.
When to DIY and when to get it checked
There is nothing wrong with handling some of the planning or simpler installation work yourself if you are confident and methodical. Plenty of camper owners can mount lights, tidy cable runs and understand a basic 12V layout. But charging systems, lithium upgrades, inverter installs and fault diagnosis are where experience matters.
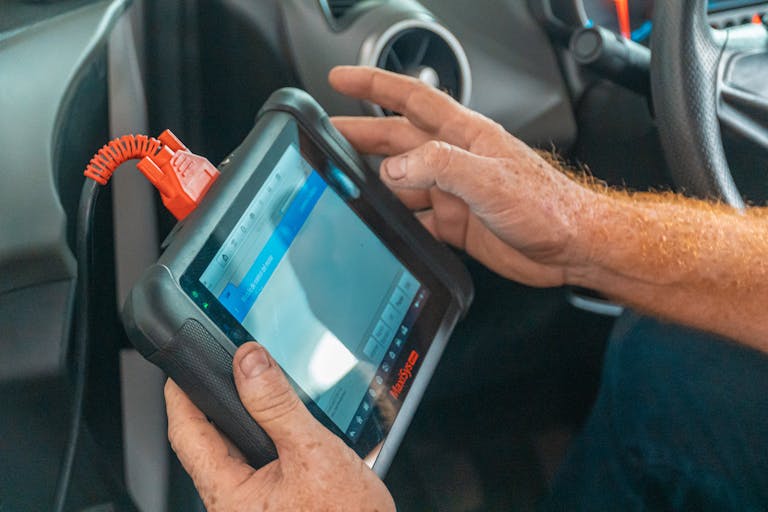
If your trailer has intermittent charging, flat batteries, hot cables, random fuse failures or appliances cutting out under load, guessing can get expensive. A proper diagnostic approach saves time and often prevents damaged components. For owners across the Sunshine Coast and hinterland, that is usually the difference between a quick fix and a recurring problem that keeps spoiling trips.
A workshop that handles both automotive electrical work and off-grid setups can also spot issues between the vehicle and trailer, not just inside one half of the system. That matters more than people think, especially when dual battery systems, Anderson plugs, solar input and trailer charging are all tied together.
Build for the way you actually travel
The best wiring setup is not the biggest or most expensive one. It is the one that suits your trailer, your tow vehicle and the way you camp. A couple doing short coastal weekends has very different needs from a family running a fridge, lights, pump, comms gear and device charging for a week off-grid.
If you start with realistic power use, size the cables and protection properly, and choose charging gear that matches the battery, the whole system becomes easier to trust. And when your electrical system is predictable, everything else about camping gets easier too.
If you are planning a trailer fit-out or chasing faults in an existing setup, slow down and get the wiring right before adding more accessories. Good power is not flashy, but it is what keeps the rest of the trip running smoothly.