Guide to Caravan DC DC Charging
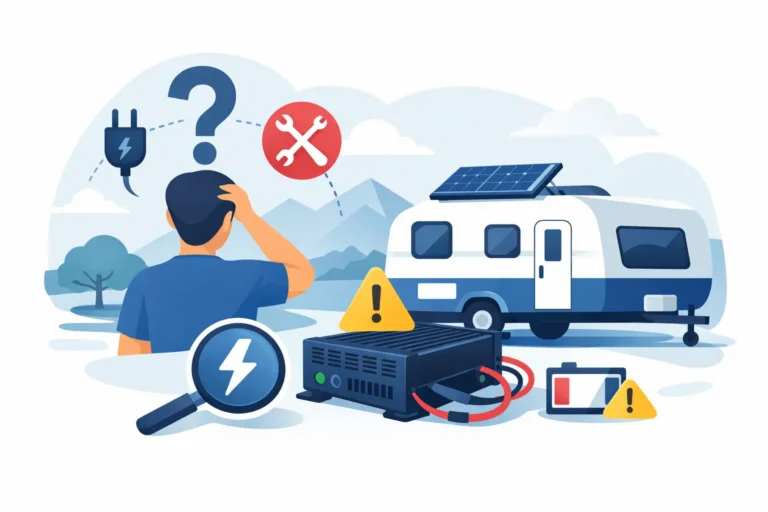
You only notice a poor charging setup when the fridge starts struggling, the lights dim earlier than they should, or the battery monitor tells you the van is not getting back what you used overnight. That is exactly why a proper guide to caravan DC DC charging matters. If you tow regularly, camp off-grid, or run lithium in your caravan, the way your batteries are charged on the move can make the difference between a reliable setup and constant frustration.
What caravan DC DC charging actually does
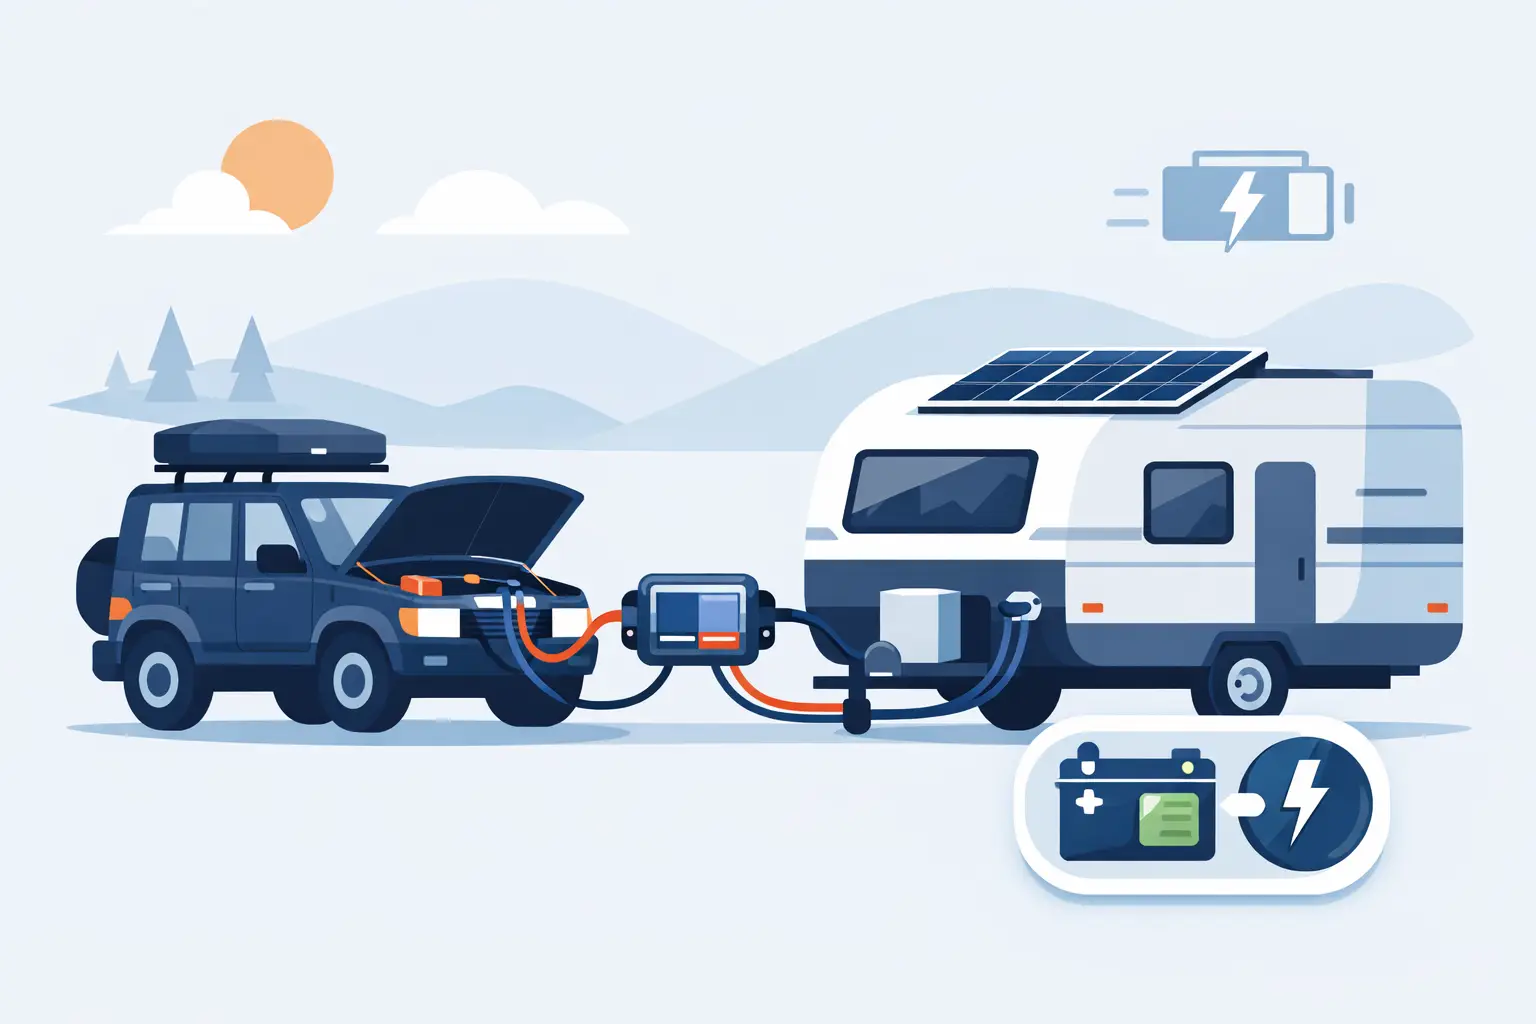
A DC DC charger takes power from your tow vehicle and converts it into the right charging profile for your caravan batteries. That sounds simple, but modern vehicles and modern batteries have made it much more important than it used to be.
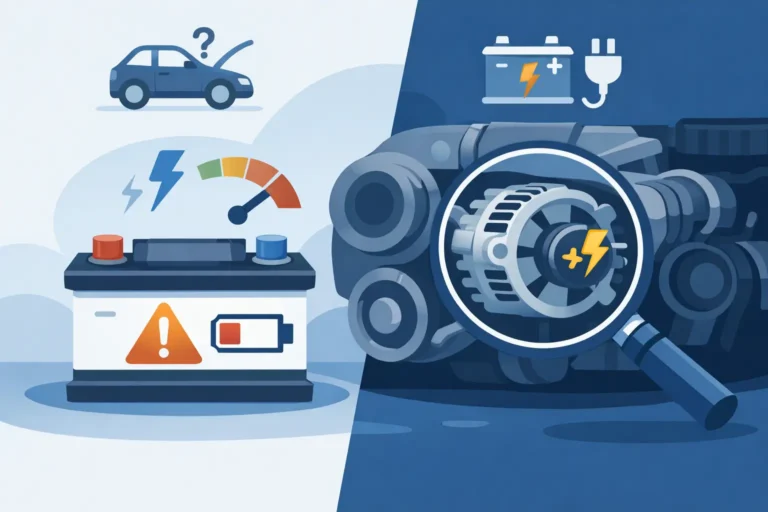
Older setups often relied on a direct feed from the alternator through an Anderson plug. In some cases that still works, but plenty of newer vehicles do not maintain the sort of charging voltage a caravan battery bank needs. Smart alternators can reduce voltage once the crank battery is topped up, and long cable runs from the engine bay to the rear of the vehicle and then into the van create voltage drop. By the time that power reaches the caravan battery, it may not be enough to charge properly.
A DC DC charger fixes that by boosting and regulating the incoming voltage. It also applies a proper multi-stage charge suited to AGM, gel or lithium, depending on the charger and battery setup.
Why a direct alternator feed is often not enough
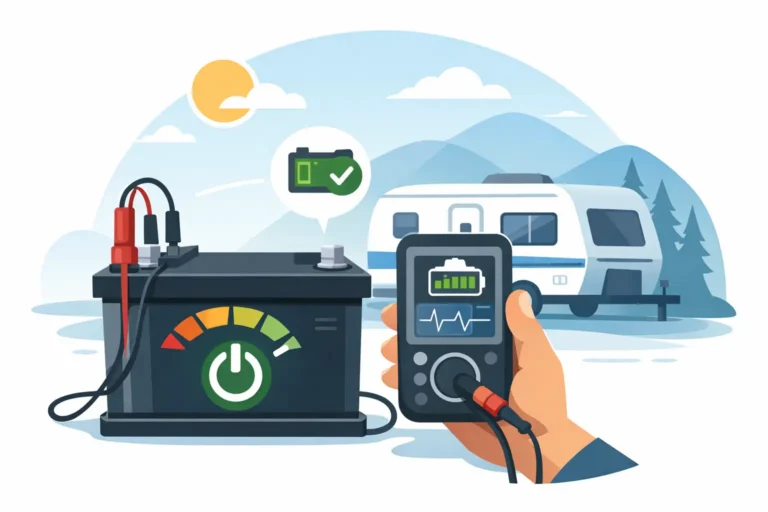
The biggest misunderstanding is that if power is reaching the van, the battery must be charging well. That is not always true. A battery may appear to be charging because the monitor shows some incoming amps, but if the voltage at the battery is too low, it may never reach a proper state of charge.
That matters even more with lithium. Lithium batteries will accept charge quickly, but they also need the correct charging voltage. If the wiring is undersized or the vehicle voltage is inconsistent, the battery can spend its life undercharged. Over time, that means less usable capacity and a setup that never performs as expected.
With AGM batteries, low charging voltage creates a different problem. They take longer to recharge and can sulphate if they are repeatedly left below full charge. So while a direct alternator feed might be cheaper and simpler, it is often a compromise that shows up later when you are relying on the system.
A practical guide to caravan DC DC charging setup
The right setup depends on how you travel and what gear the caravan is running. A weekend van with a single battery and basic loads will not need the same arrangement as a full off-grid touring setup with lithium, solar, inverter loads and a compressor fridge.
The first decision is battery type. AGM and lithium need different charge profiles, and some lithium batteries also have specific current limits or communication requirements. The charger must be compatible with the battery chemistry and sized sensibly for the battery bank.
The next decision is charger size. Common sizes are 20A, 25A, 40A and higher. Bigger is not always better. A larger charger can recover batteries faster, but only if the tow vehicle wiring can support it and the battery bank is suitable. If the cable from the vehicle is too small, a high-output charger may underperform or draw more than the circuit can handle.
Then there is solar integration. Many caravan DC DC chargers include a solar regulator input, which can be a tidy option if you want one unit managing alternator and solar charging. In the right system, that works very well. In others, a separate solar regulator may give more flexibility, especially with larger roof solar arrays or Victron-based systems where monitoring and custom settings matter.
Charger sizing – what suits your van?
A rough rule is that the charger should match the battery bank and the way you use it, not just the space available on the wall. For a small AGM setup, 20A to 25A can be fine. For a larger lithium bank, 40A may be more appropriate if the wiring and vehicle can support it.
If you drive long distances most days, a moderate charger may be enough because the battery gets plenty of time to recover. If you move camp only occasionally and rely heavily on alternator charging between stops, faster charging becomes more valuable.
There are trade-offs. A bigger charger means more current draw from the vehicle side and more demand on cable size, fusing and connectors. In some cases, stepping down slightly and improving the wiring delivers a better real-world result than fitting the biggest charger on the shelf.
Wiring matters more than most people think
The charger itself gets most of the attention, but wiring is often where systems are won or lost. Cable size, cable length, connection quality, earthing and fuse placement all affect performance.
Voltage drop is the main issue. The longer the run from the vehicle battery to the rear of the caravan, the more resistance the circuit has. Undersized cable means the charger receives less voltage and may not reach full output consistently. That can leave owners wondering why a quality charger is only delivering part of its rated current.
A proper installation usually includes heavy enough cable from the start battery or approved power source, suitable circuit protection at the vehicle end, quality connectors such as an Anderson plug, and sound earth returns. In some cases, dedicated negative cabling back to the source is better than relying on chassis earth alone.
This is also where vehicle-specific behaviour comes into play. Some smart alternator vehicles need an ignition trigger or a charger designed to detect engine operation properly. Without that, the charger may cut in and out or fail to charge when expected.
Lithium caravans need a bit more planning
Lithium has changed caravan power systems for the better, but it has also exposed weak charging setups. A lithium battery can charge quickly, hold voltage well and provide plenty of usable capacity. It also tends to make owners more aware of system performance because they expect stronger results.
The charger needs the correct lithium profile, and the battery should have a quality battery management system. Not all lithium batteries are built the same, and not all chargers behave the same way under heat, low input voltage or mixed charging sources.
If your caravan has a premium lithium setup, it makes sense to match it with a charger and wiring standard that can actually support it. Otherwise, you end up with good components limited by poor installation.
Should your DC DC charger handle solar too?
This depends on how simple or expandable you want the system to be. A combined DC DC and solar charger is neat, efficient with space, and often ideal for straightforward caravan builds. It can automatically prioritise solar when available and use alternator input when driving.
A separate solar regulator may suit larger or more complex systems. If you have substantial roof solar, portable blanket input, advanced monitoring, or plans to add inverter capacity later, a dedicated solar controller can offer more control. There is no single right answer here. It comes down to your usage and whether the system is being built for current needs only or for future upgrades as well.
Common mistakes to avoid
One of the most common mistakes is choosing a charger based on marketing claims rather than the actual battery bank, vehicle and wiring path. Another is assuming the factory caravan wiring is good enough for upgrades. Sometimes it is. Plenty of times it is not.
People also run into trouble by mixing components without checking compatibility. A charger may support lithium, but not the specific charging limits recommended for the battery. Solar input might be available, but not sized for the array fitted to the roof. Or the charger may be mounted in a hot, poorly ventilated locker where output gets reduced when temperatures climb.
Then there is the expectation that one upgrade fixes everything. If the caravan has tired batteries, poor earths, undersized cable and heavy loads, fitting a DC DC charger helps, but it will not paper over every weakness in the system.
When a professional install makes sense
If you are handy and understand 12V systems, some installations are straightforward. But caravan charging systems are tied to battery health, fire safety, wiring protection and the reliability of gear you depend on away from home. That is why many owners prefer to have the system assessed properly before buying parts.
A workshop that handles automotive electrical diagnostics and off-grid setups can check how the vehicle is charging, measure voltage drop under load, confirm cable sizing, and match the charger to the battery chemistry and travel style. That usually saves money compared with buying the wrong charger first and fixing the rest later.
For caravan owners around the Sunshine Coast, that kind of advice is especially useful before a longer trip inland or remote, where charging problems become far more than an inconvenience.
A good DC DC charging setup should be boring in the best possible way. You hitch up, drive, pull into camp, and your batteries are where they should be without second-guessing the system every afternoon.