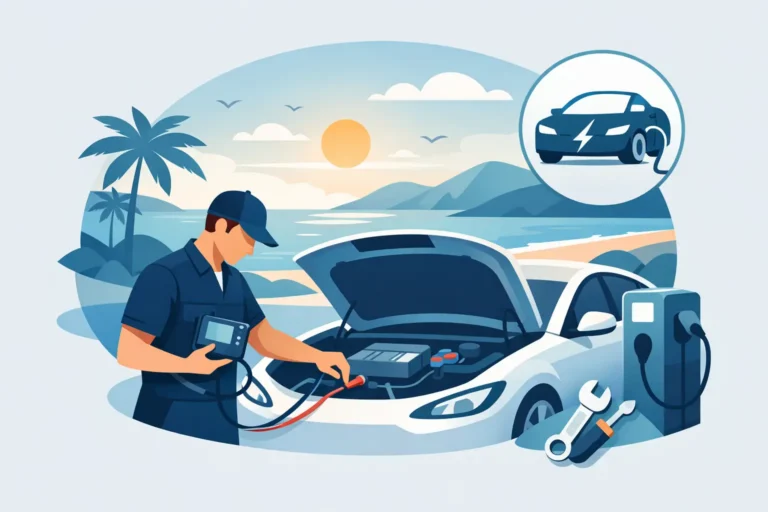
Redarc DC DC Charger Installation Done Right
A dual battery setup usually looks simple from the outside. Then you start chasing voltage drop, low charging rates, hot cables, battery warnings, or a fridge that cuts out halfway through a weekend away. That is where proper redarc dc dc charger installation matters – not just getting the unit mounted, but making sure the whole charging system actually works under real driving and camping conditions.
For 4WDs, caravans, campervans, and touring rigs, a DC-DC charger is doing a bigger job than many people realize. It is not just passing power from one battery to another. It is managing how your auxiliary battery charges, compensating for modern vehicle alternator behavior, and in many setups integrating vehicle charge with solar input as well. If the install is wrong, even good gear will underperform.
Why redarc dc dc charger installation is not just a wiring job
A lot of charging issues start with the assumption that every dual battery system can be wired the same way. That used to be closer to true on older vehicles with straightforward alternators. It is not true on many newer vehicles, especially those with smart alternators, voltage-sensitive systems, or tighter engine bay packaging.
A REDARC charger has to be matched to the battery chemistry, cable size, mounting location, fuse protection, and expected load. A lithium auxiliary battery has different charging needs than AGM. A caravan battery mounted several meters from the tow vehicle has different cable run considerations than a battery tucked into the back of a ute canopy. A canopy fridge, inverter, lights, and compressor setup will also place different demands on the system than a light weekend touring build.
That is why the charger itself is only one part of the result. The install quality decides whether the battery reaches proper charge levels, whether solar input is being used effectively, and whether the system stays reliable on corrugated roads, summer heat, and long-distance travel.
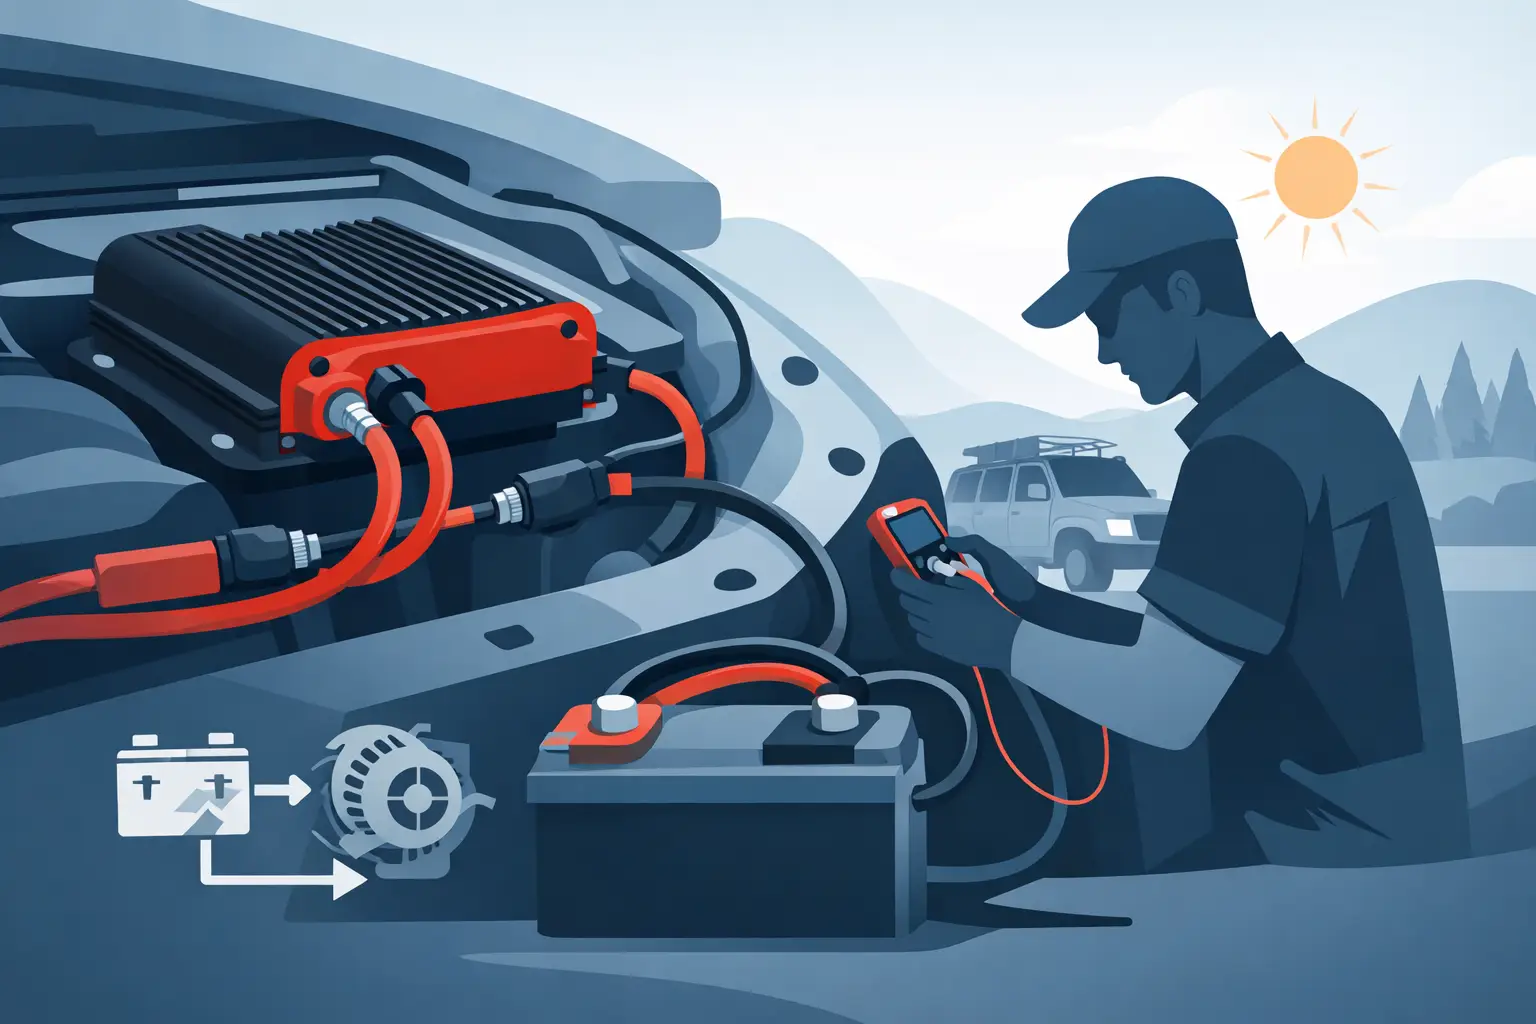
What a proper REDARC DC DC charger installation should account for
The first thing is battery type. AGM, gel, calcium, and lithium batteries do not all want the same charging profile. If the charger settings are wrong, battery life suffers. Sometimes the system still appears to work, but the battery never charges fully or ages faster than it should.
The next issue is current capacity. Bigger is not always better. A charger needs to suit the battery bank and the way the vehicle is used. If the charger is undersized, recovery charging can be slow after a night of running loads. If it is oversized for the battery, that can create its own problems depending on battery specification and installation conditions.
Cable size is another common weak point. Long cable runs create voltage drop, and voltage drop is one of the main reasons auxiliary batteries fail to charge as expected. This shows up often in tow vehicle to caravan setups. On paper, the charger may be capable of solid output. In practice, poor cable sizing on the input side starves it.
Mounting location matters too. These chargers need to be installed where they are protected, ventilated, and secure. An engine bay location may be acceptable on some models and not ideal on others depending on heat, water exposure, and service access. Mounting a charger because it is the easiest spot to reach is not the same as mounting it where it will last.
Fuse and circuit protection also need to be done properly. That includes protection close to the source, not just wherever there is space left in the system. Good installs are tidy, but tidy alone does not mean correct.
Common mistakes with redarc dc dc charger installation
The most common mistake is treating the charger like a fix-all. A DC-DC charger can correct a lot of charging issues, but it will not solve poor earthing, damaged wiring, failing batteries, undersized solar, or heavy load demand that exceeds the system design.
Another mistake is relying on factory wiring for trailer charge circuits when the battery system in the caravan is far more demanding than a basic breakaway or light-duty auxiliary feed. The result is often poor charge performance and customer frustration because the charger is blamed when the real issue is supply to the charger.
We also see systems where lithium has been added without reviewing the rest of the setup. Lithium upgrades are popular for good reason – less weight, faster charging, more usable capacity – but they expose weak points elsewhere. Wiring, fusing, charger settings, and load management all need to be checked as part of the install.
Then there is charger placement. If a unit is mounted in a hot, dirty, or poorly supported location, reliability can suffer over time. Off-road travel is not kind to electrical components. Vibration resistance, cable support, and water exposure all matter.
Vehicle, caravan, and camper setups all have different needs
A 4WD with an auxiliary battery under the hood or in the rear tub is usually the most straightforward type of install, but even then, modern alternator behavior can complicate things. Some vehicles need ignition trigger wiring or specific setup choices to ensure the charger operates as intended.
A ute with a canopy setup tends to be more involved. You may have a fridge, work lights, compressor, inverter, and charging points for tools or camp gear. In that case, charger choice and battery size should be considered alongside the actual loads, not added one piece at a time until the system becomes a patchwork.
Caravans are different again. Cable run length from the tow vehicle plays a big role, and many owners expect the van battery to recover properly while driving between stops. That is realistic only if the wiring from the vehicle to the van is designed for it. Anderson plug quality, cable routing, connector condition, and earth return all affect charging performance.
Campervans sit somewhere in the middle. Space is tighter, heat management matters, and people often want charging, solar, inverters, USB points, and 120V support all working together. A good install looks at the full system rather than treating the charger as a stand-alone accessory.
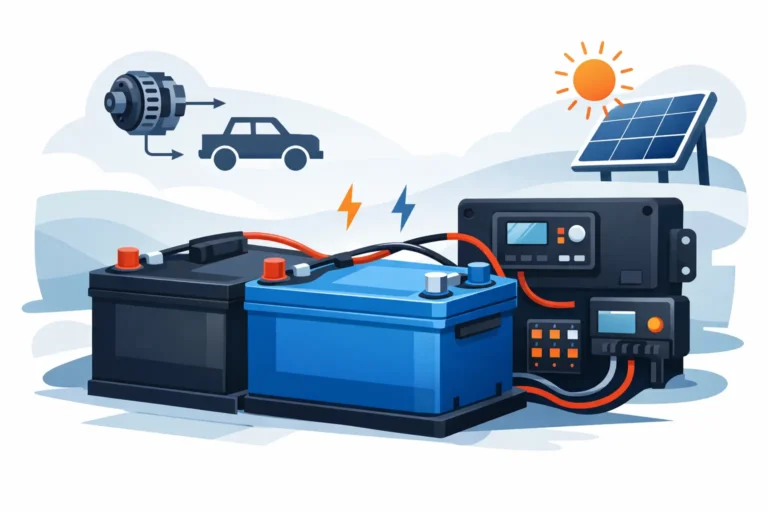
When to pair the charger with solar and lithium
If the vehicle or RV is being used for off-grid travel, solar integration often makes sense. A charger with solar input can simplify the system and help keep the auxiliary battery maintained when parked for extended periods. That said, solar only works well when panel size, regulator capability, and battery storage all match the way the vehicle is used.
Lithium is often the right move for people who rely heavily on battery power, especially if weight and fast recharge are priorities. But it is not automatically the best choice for every build. AGM can still suit some users, especially when budget is tighter or loads are modest. The right answer depends on how often the setup is used, what loads are being run, and how much time the system has to recover between camps.
For customers building dependable off-grid systems, Coastal Cool Air typically approaches the charger as one piece of a complete power setup, especially where custom lithium batteries, solar, and inverter demands need to work together without guesswork.
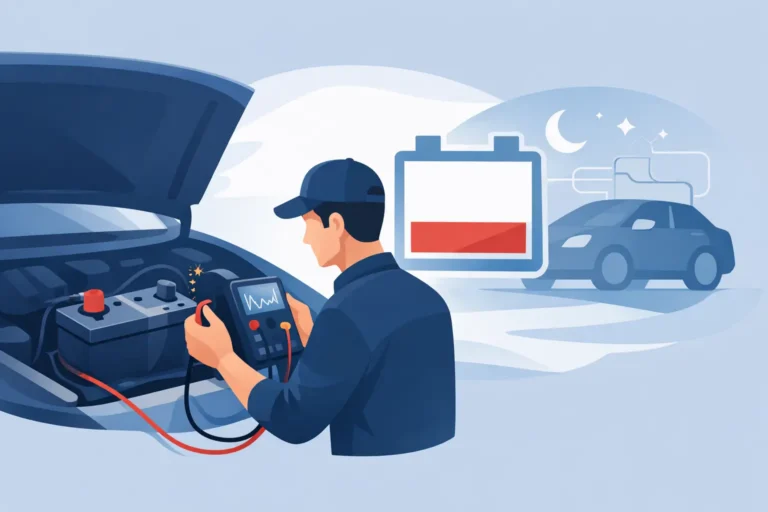
Signs your installation needs attention
If your battery monitor shows low state of charge after long drives, if the fridge cuts out overnight, or if the caravan battery never seems to fully recover between stops, the charger setup is worth checking. The same goes for systems that work fine on a short trip but struggle in hotter weather or under heavier loads.
Another clue is inconsistent performance. If one trip is fine and the next is not, that can point to heat, wiring resistance, vibration-related faults, or poor connection quality. Electrical issues are often intermittent before they become obvious failures.
It is also worth checking a system any time you change battery chemistry, add larger loads, install an inverter, or expand solar. What worked for a simple AGM and fridge setup may not be adequate once the system grows.
Choosing installation over guesswork
There is a reason dual battery and charging work can look simple online and still go wrong in the real world. Vehicles vary, use cases vary, and quality components still depend on correct setup. The charger has to suit the battery, the wiring has to suit the current and distance, and the full system has to suit the way you travel.
A proper install gives you more than a working battery. It gives you confidence that the fridge will stay on, the battery will recover, and the system will hold up when you are hours from the nearest town. If your setup needs to be reliable, not just connected, it pays to get the charging side right from the start.
The best dual battery systems are the ones you stop thinking about because they simply do their job every trip.