How to Wire Dual Battery Systems Properly
Flat starter batteries at camp usually come from one mistake – the accessory side was never isolated properly. If you’re looking up how to wire dual battery setups, the goal is simple enough: keep your cranking battery ready to start the vehicle while a second battery runs your fridge, lights, inverter or other 12V gear. The tricky part is getting the charging, cable sizing and protection right so the system works reliably on corrugated roads, in heat and over long driving days.
A dual battery system is not just two batteries joined together. Done properly, it is a managed setup that charges both batteries when the engine is running and separates them when it is not. That separation matters. Without it, your camp loads can drain the starter battery and leave you stuck.
What a proper dual battery setup needs
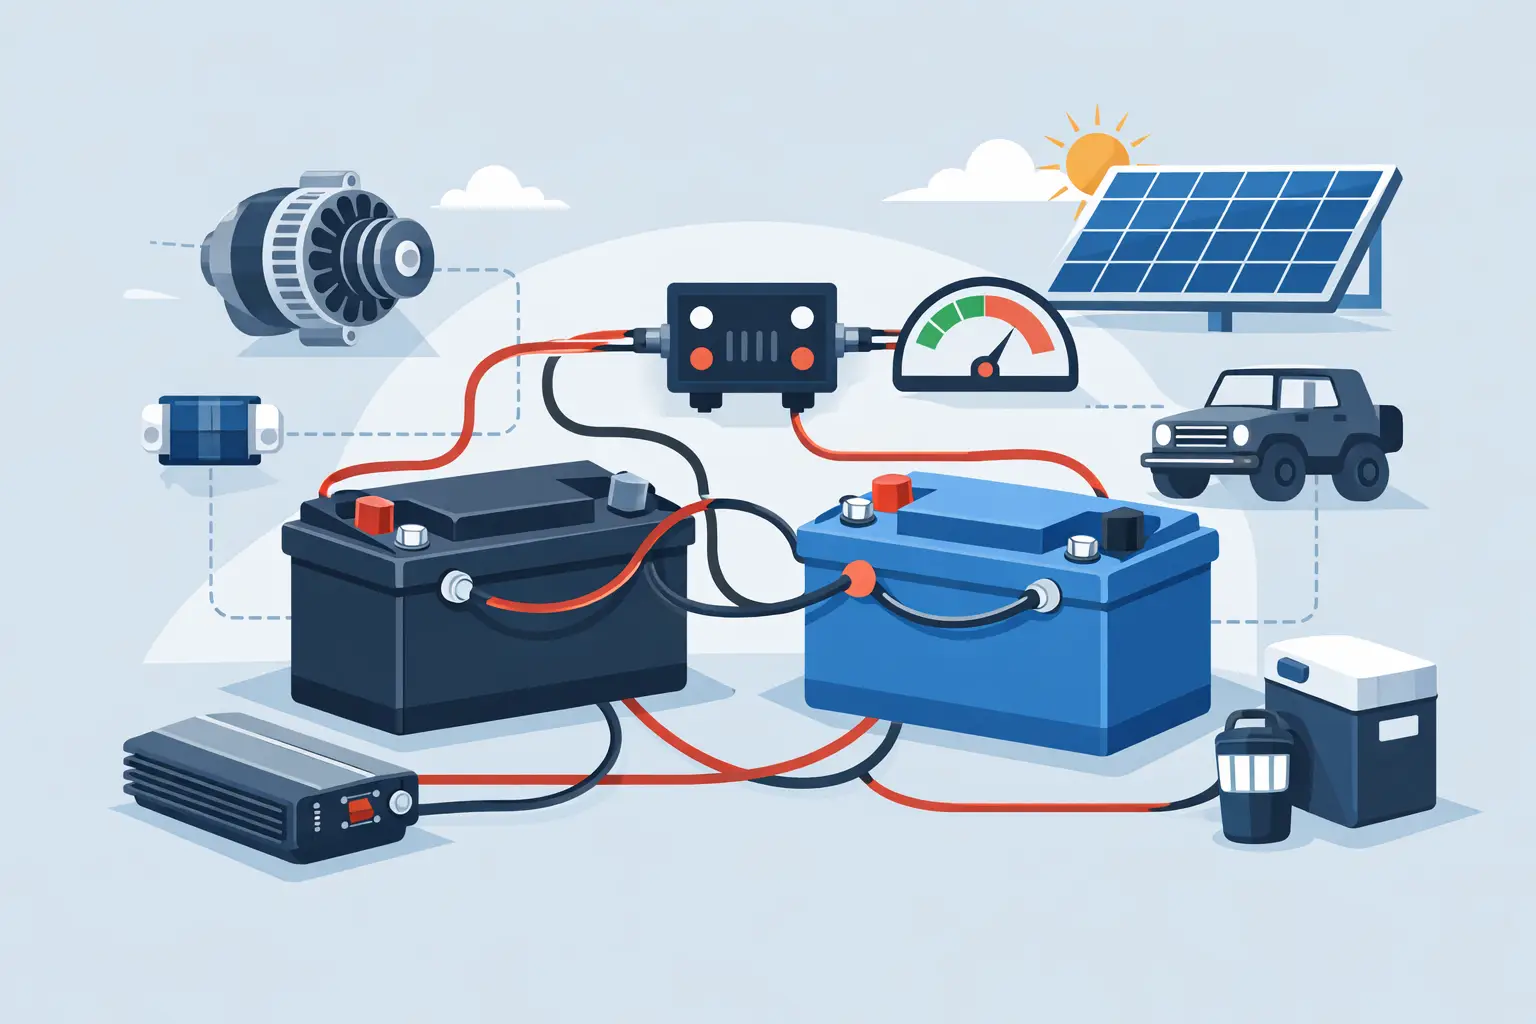
At a basic level, you need a start battery, an auxiliary battery, suitable cabling, fuse protection and a way to control charging between them. In older vehicles with a conventional alternator, a voltage sensitive relay can sometimes do the job well. In newer vehicles, especially smart alternator models, a DC-DC charger is usually the better choice because it can maintain proper charging voltage to the auxiliary battery.
Battery type matters too. An AGM battery has different charging needs from lithium. If you are mixing old wiring habits with modern lithium gear, that is where problems often start. The battery chemistry, alternator behaviour, load size and cable run all affect how you should wire the system.
How to wire dual battery systems step by step
Before touching a cable, work out what the auxiliary battery actually needs to run. A touring setup with a fridge and a few USB outlets is very different from a caravan or canopy setup with an inverter, solar input and multiple circuits. That load estimate affects battery size, charger size and cable thickness.
The first step is battery placement. In an engine bay, heat can shorten battery life, so not every battery type is suitable there. Many auxiliary batteries are better mounted in a canopy, cargo area or caravan compartment with secure hold-downs and proper ventilation where required. If the battery is a long way from the alternator, voltage drop becomes a bigger issue, so cable selection becomes more important.
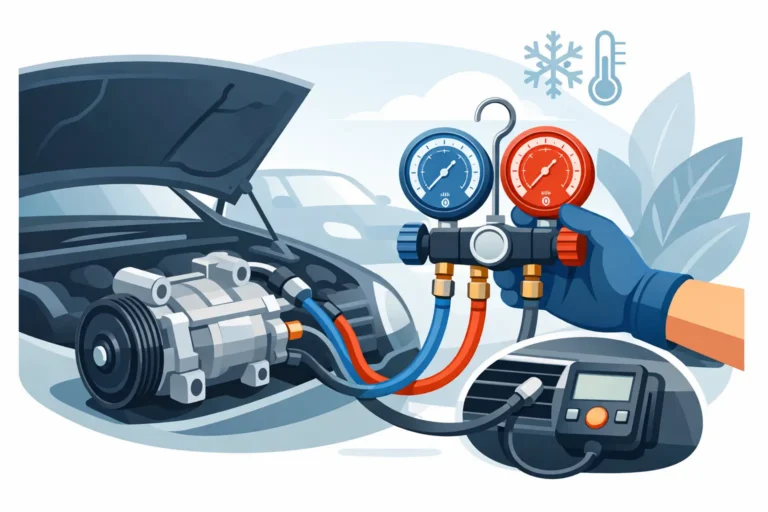
Next comes the charging path. If you’re using a voltage sensitive relay, it is generally installed between the start battery and the auxiliary battery positive. When the alternator lifts system voltage, the relay connects the two batteries so they can charge. When voltage drops after the engine is off, it disconnects them. This is simple and cost-effective, but it relies on the vehicle supplying enough voltage for the auxiliary battery to charge properly.
If you’re using a DC-DC charger, the positive feed runs from the start battery to the charger input, then from the charger output to the auxiliary battery positive. The charger manages the charging profile, which is especially useful for lithium and for vehicles with smart alternators. In many modern setups, this is the safer and more reliable option.
Whichever method you choose, every positive cable leaving a battery should be fused as close to the battery as practical. That protects the cable if it rubs through or shorts to earth. A fuse protects the wiring, not just the device on the end of it. Skipping this step is one of the more common and more dangerous mistakes.
Earths are just as important as positives. The auxiliary battery negative can be earthed to a solid chassis point in some setups, but on longer runs, especially with higher loads, a full negative return cable back to the main battery or a proper negative bus can reduce voltage drop and improve system reliability. A poor earth causes all sorts of strange issues, from weak charging to intermittent accessory faults.
Once the battery and charger are connected, your accessory circuits should come off a fused distribution point, not directly from random battery terminals. Fridges, lighting, sockets and inverters should each have appropriately sized wiring and protection. This keeps fault-finding easier and reduces the chance of overloaded circuits.
Choosing between a relay and DC-DC charger
This is where a lot of DIY jobs go off course. People ask for the cheapest way to wire two batteries together, but the best setup depends on the vehicle and how it’s used.
A relay-based system can work well in a basic touring vehicle with a conventional alternator, short cable runs and an AGM auxiliary battery. It is simpler, cheaper and has fewer components. But it has limits. If charging voltage is too low or cable runs are too long, the auxiliary battery may never reach full charge.
A DC-DC charger costs more, but it gives you controlled charging and usually better results in modern vehicles. It also makes solar integration easier in many systems. If you are running lithium, travelling off-grid regularly or charging a battery mounted well away from the engine bay, a DC-DC charger is often worth the extra spend.
Common wiring mistakes that cause trouble
The most common fault is undersized cable. A battery can look connected and still perform poorly because the cable cannot carry enough current over the distance involved. The result is slow charging, low voltage at appliances and unnecessary heat in the wiring.
Another common issue is poor fuse selection. Too large, and the cable may not be protected. Too small, and nuisance blowing becomes a problem. Fuse rating should match the cable capacity and the expected load, not just whatever came in a parts bin.
Bad earth points are another repeat offender. Paint, rust, loose bolts and thin body metal can all create high resistance. You may still read voltage on a meter, but the system falls over once a proper load is applied.
Battery mismatching also causes problems. Joining dissimilar batteries without the right charging control can reduce battery life. Lithium in particular needs the correct charger settings, suitable low-voltage protection and a system designed around it, not tacked onto an old setup.
How to wire dual battery systems for touring and camping
For most 4WD, ute and camper setups, reliability matters more than chasing the absolute cheapest install. If the system is expected to run a fridge for days, survive vibration and recharge properly after short drives, the wiring needs to be planned around real use.
That usually means heavy enough cable from the engine bay to the rear battery, proper conduit and cable support, quality lugs and crimps, and components mounted where they stay dry and accessible. It also means thinking ahead. If you might add solar, a caravan feed, a charger upgrade or an inverter later, it pays to build in that flexibility from the start rather than redoing the lot.
For caravan and campervan owners, the towing connection also matters. Charging through an Anderson plug is common, but only if the wiring to it is sized correctly and protected properly. A weak feed from the vehicle can leave the van battery undercharged even after a full day on the road.
When DIY is fine and when it is not
If you have a straightforward vehicle, a basic auxiliary battery and a clear understanding of cable sizing, fusing and charging requirements, a DIY installation can be done well. But dual battery work is one of those jobs where a system can look tidy and still be technically wrong.
If your vehicle has a smart alternator, battery monitoring system, lithium battery, inverter, solar integration or a canopy full of accessories, professional installation usually saves time and money in the long run. The same goes if you are chasing parasitic drain issues or unexplained charging faults. Proper diagnostics matter more than swapping parts and hoping for the best.
In workshop practice, a good install is not just about making it work on the day. It is about making sure the cable routes are protected, voltage drop is acceptable, charging profiles suit the battery, and the whole setup remains serviceable later. That is where tailored solutions tend to outperform universal kits.
If you’re unsure how to wire dual battery equipment in your 4WD, caravan or camper, the safest approach is to design the system around how you actually travel, not around a generic diagram. A weekend fishing rig, a tradie ute and a full off-grid tourer all need something slightly different. Get the basics right, use quality parts, and the system will quietly do its job when you need it most.